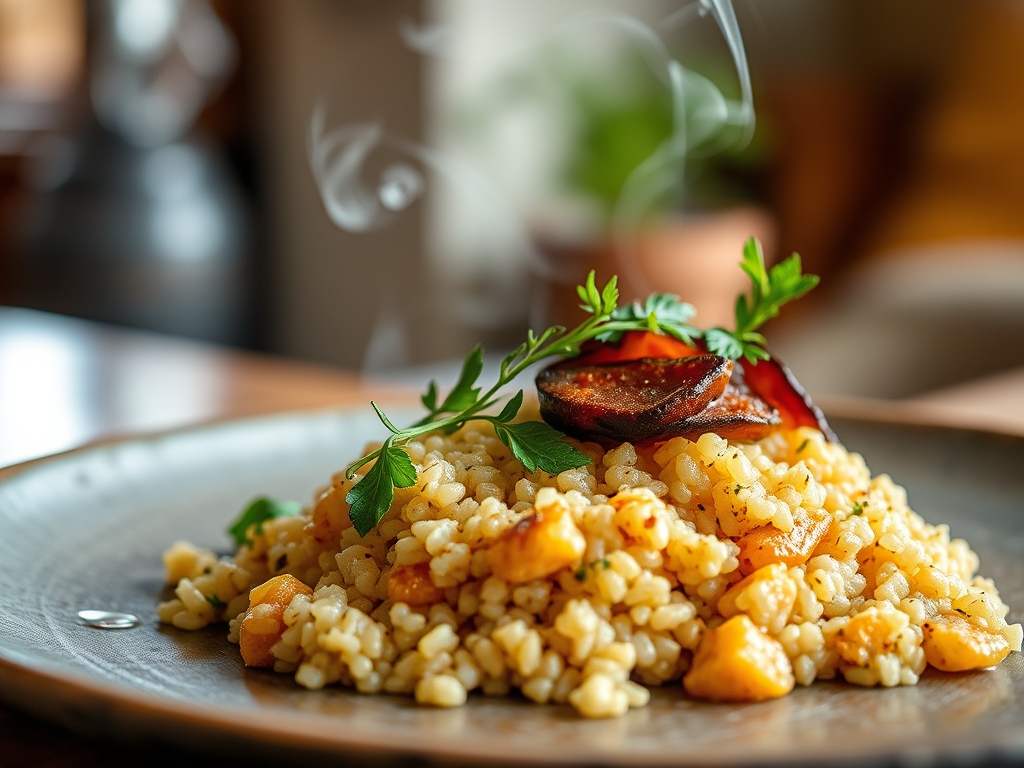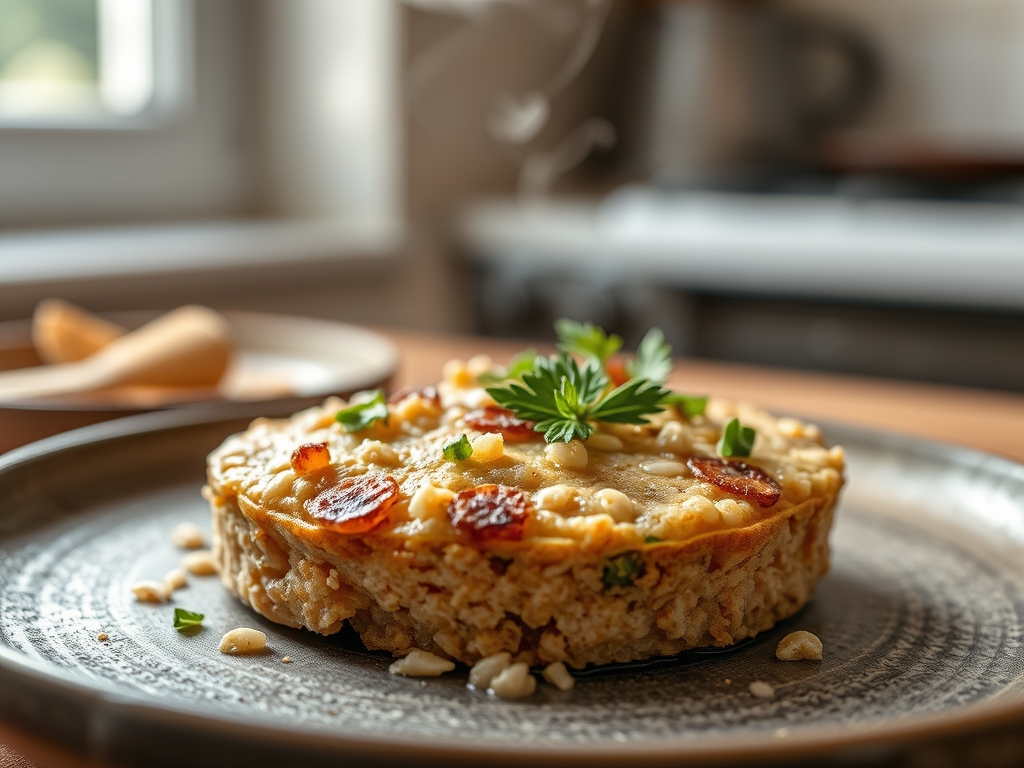
Stop treating your pantry staples like inert gravel. If you are still boiling un-sprouted brown rice straight from the bag, you are committing a culinary oversight of structural proportions. We are here to talk about Brown Rice Germination; the process of awakening a dormant seed to unlock a chemical cascade of Gamma-Aminobutyric Acid, or GABA. This is not just about texture; it is about bio-availability and the transformation of a dense, tooth-breaking grain into a tender, nutty vessel of superior nutrition. Imagine the scent of toasted hay and malted barley filling your kitchen as the enzymes begin to dismantle complex starches. The grain swells, the bran softens, and the flavor profile shifts from one-dimensional cardboard to a complex, savory sweetness. We are auditing your kitchen workflow to ensure that every grain reaches its maximum potential. This is a technical overhaul of your carbohydrate strategy. We are moving beyond simple hydration into the realm of biological activation. Prepare your digital scales and clear your workstations; it is time to optimize.
THE DATA MATRIX
| Metric | Specification |
|---|---|
| Prep Time | 24 to 48 Hours |
| Execution Time | 45 Minutes |
| Yield | 4 Servings (approx. 800g cooked) |
| Complexity (1-10) | 4 (Requires Patience) |
| Estimated Cost per Serving | $0.45 USD |
THE GATHERS
Ingredient Protocol:
- 500g / 2.5 cups Long-Grain Brown Rice (Organic preferred for higher viability)
- 1.5L / 6 cups Filtered Water (Dechlorinated is essential)
- 5ml / 1 tsp Apple Cider Vinegar or Lemon Juice (To lower pH)
- 2g / 0.5 tsp Sea Salt (For the final cook)
- 15ml / 1 tbsp Grass-fed Butter or Extra Virgin Olive Oil
Section A: Ingredient Quality Audit:
If your rice refuses to sprout, you likely have "dead" grain. Highly processed or aged brown rice may have been heat-treated to extend shelf life, which kills the germ. Technical Fix: Perform a float test. Submerge a handful of rice in water; if more than 10 percent floats, the grains are likely desiccated or damaged. Always source "new crop" rice when possible. If your water has a high chlorine content, it will inhibit enzymatic activity. Use a charcoal filter or boil the water and let it cool to room temperature before starting the germination process to ensure the microbes and enzymes can thrive.
THE MASTERCLASS
Step 1: The Initial Purge and Rinse
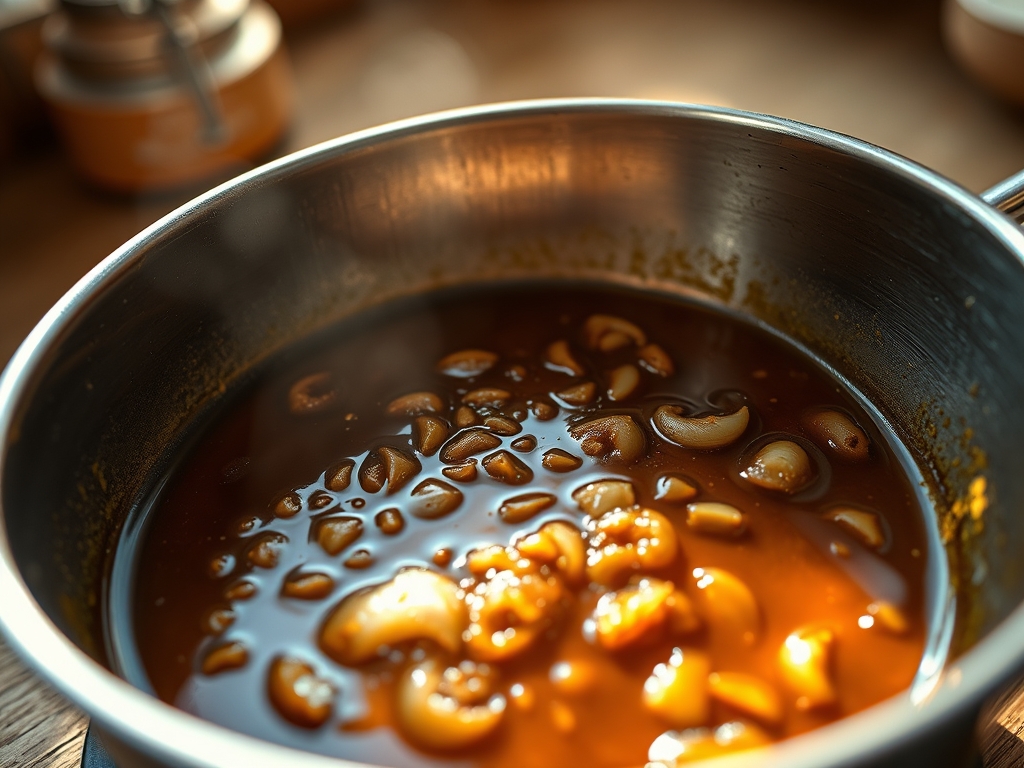
Place your dry rice in a large stainless steel mixing bowl. Use cold, filtered water to vigorously agitate the grains. You want to remove surface dust and loose starch. Drain through a fine-mesh sieve and repeat until the water runs clear. Pro Tip: Use a digital scale to measure your rice by weight rather than volume; this ensures consistent hydration ratios across different batches and brands.
Step 2: Acidulated Soaking for Activation
Submerge the rinsed rice in 1 liter of filtered water. Add your acidulant (vinegar or lemon juice). This lowers the pH, which helps to neutralize phytic acid, an anti-nutrient that binds to minerals. Cover the bowl with a breathable cloth. Pro Tip: Maintain a consistent ambient temperature of 75 to 80 degrees Fahrenheit. A thermal immersion circulator or a simple oven with the pilot light on can act as an incubator to accelerate the enzymatic breakdown.
Step 3: The Rinsing Interval
Every 8 to 12 hours, you must drain and refresh the water. This prevents the accumulation of fermentation byproducts that can lead to an "off" or sour aroma. The rice should smell fresh and slightly sweet. Pro Tip: Use a bench scraper to gently move the rice in the sieve during rinsing to ensure every grain is cleaned without fracturing the softened bran layer.
Step 4: Identifying the Germination Point
After 24 to 48 hours, inspect the grains. You are looking for a tiny protrusion at the tip of the rice, known as the "pip." This indicates that Brown Rice Germination is successful and GABA levels are peaking. Pro Tip: Do not wait for a long sprout to emerge. A millimeter-sized bump is the sweet spot for flavor; anything longer and the grain becomes too soft and loses its structural integrity during the cook.
Step 5: The Precision Simmer
Transfer the sprouted rice to a heavy-bottomed saucier. Add fresh filtered water at a 1:1.25 ratio (rice to water). Bring to a boil, then immediately drop to the lowest possible simmer. Cover with a tight-fitting lid. Pro Tip: A saucier with rounded edges promotes better steam circulation than a standard straight-sided pot, ensuring that the grains on the periphery cook at the same rate as those in the center.
Step 6: The Steam Rest and Aeration
Once the water is absorbed (about 30 to 35 minutes), remove from heat but do not open the lid. Let it rest for 10 minutes. Finally, use a rice paddle or fork to aerate the grains, releasing excess steam. Pro Tip: Folding in a small amount of fat at this stage will render the texture silky and prevent the grains from clumping, as the lipids coat the exterior starch.
Section B: Prep & Timing Fault-Lines:
The most common failure is "The Fermentation Trap." If you leave the rice in the same water for 24 hours without rinsing, the water will become viscous and smell like old gym socks. This is a bacterial takeover. If this occurs, discard and restart. Another timing error is over-boiling. Because the germination process has already softened the bran, the cooking time is reduced by 20 percent compared to standard brown rice. Use a timer to prevent the grains from turning into mush.
THE VISUAL SPECTRUM
Section C: Thermal & Visual Troubleshooting:
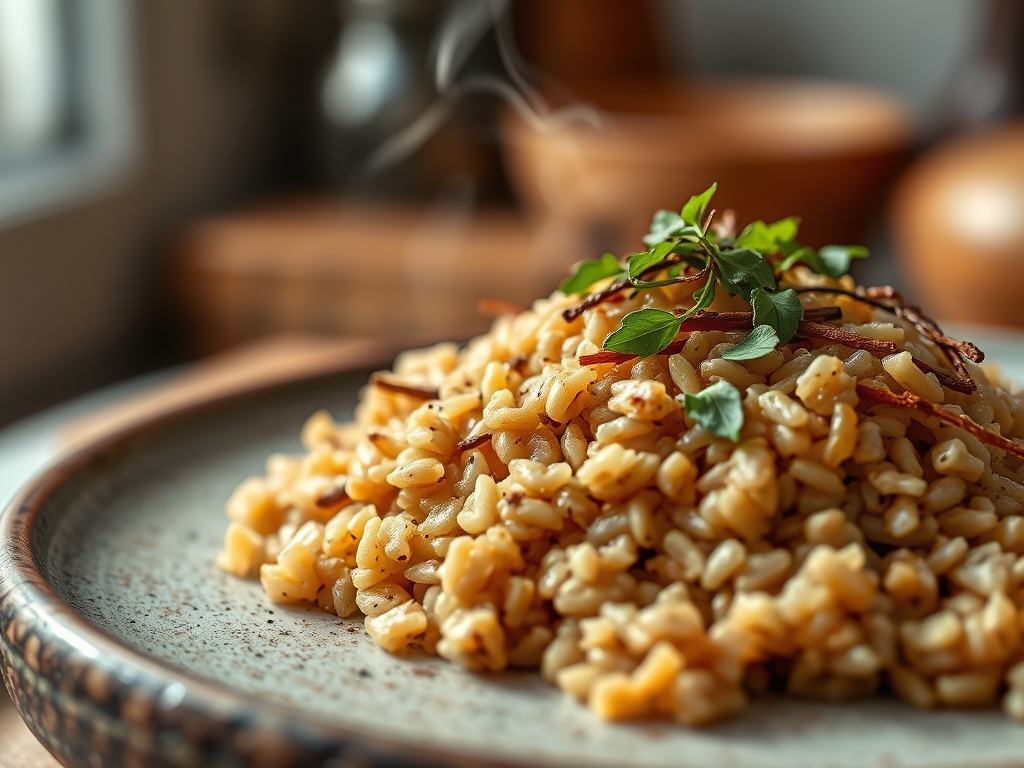
Referencing the Masterclass photo, your rice should exhibit a distinct "blooming" where the grain has slightly split but maintains its linear shape. If your rice looks dull or grey, you likely skipped the initial rinse or used tap water with high mineral content. If the browning is uneven or the bottom is scorched, your heat was too high or your pot was too thin. Technical Fix: Use a heat diffuser if your stove runs hot. The final product should have a slight sheen; this indicates that the starches have gelatinized correctly and the added fats have emulsified with the remaining surface moisture.
THE DEEP DIVE
Macro Nutrition Profile:
Sprouted brown rice is a powerhouse. Per 200g serving (cooked), expect approximately 220 calories, 5g of protein, 45g of complex carbohydrates, and 3.5g of fiber. The real victory is the 10x increase in GABA, which supports neurological health and stress reduction.
Dietary Swaps:
- Vegan: Use coconut oil or avocado oil instead of butter to infuse the grains with healthy fats.
- Keto: While not keto-friendly, those on a "Low Carb" cycle can use smaller portions (50g) as a strategic glycogen refill.
- GF: Naturally gluten-free, but ensure your source is certified to avoid cross-contamination.
Meal Prep & Reheating Science:
To maintain the molecular structure when reheating, avoid the microwave if possible. Instead, add a splash of water to a pan and "steam-fry" the rice over medium heat. This re-hydrates the starch molecules without making them rubbery. If you must microwave, cover with a damp paper towel to aerate the grain as it heats.
THE KITCHEN TABLE
Why does my sprouted rice smell like sourdough?
That is the result of natural lactic acid fermentation. If the smell is mild, it is safe and adds a piquant depth. If it is putrid or slimy, the bacteria have won. Rinse more frequently next time.
Can I sprout rice in a rice cooker?
Some high-end models have a "GABA" setting that holds the water at 104 degrees Fahrenheit for several hours. If yours does not, perform the germination in a bowl first, then use the "Brown Rice" setting to cook.
Does germination remove all the arsenic?
Soaking and rinsing significantly reduces surface arsenic levels. By using a high water-to-rice ratio during the soak and discarding that water, you are effectively "cleaning" the grain of many environmental contaminants.
How long does sprouted rice last in the fridge?
Stored in an airtight container, it maintains its integrity for 4 to 5 days. The texture actually firms up due to retrogradation, making it the perfect candidate for a superior fried rice the following day.