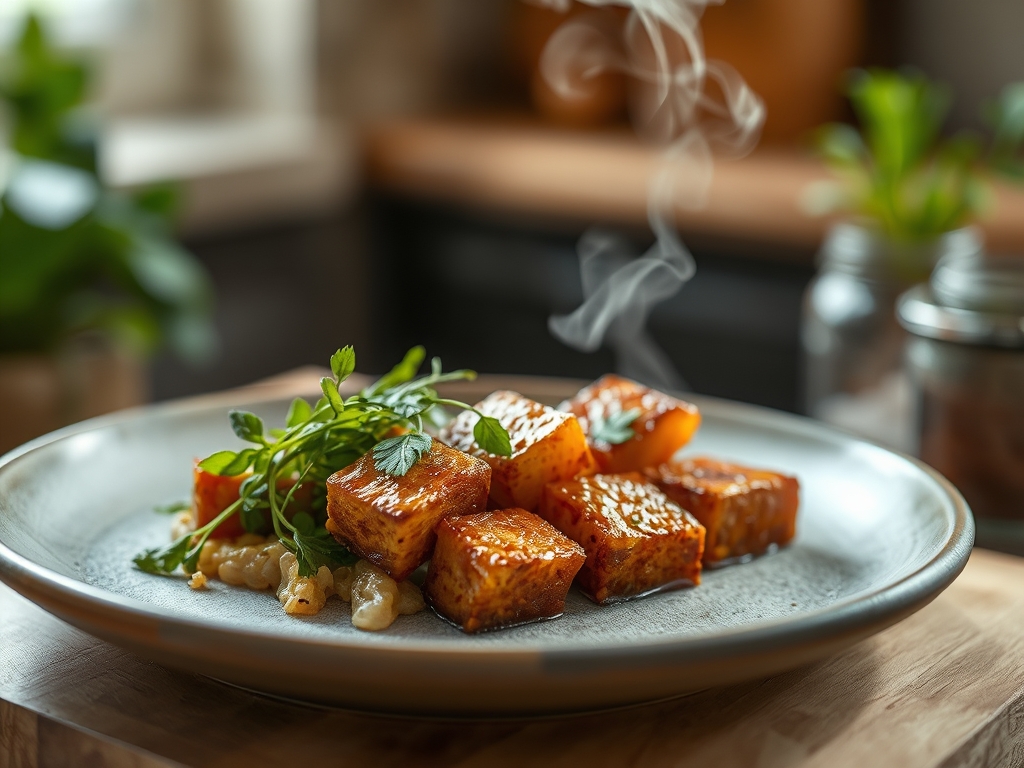
Listen up, kitchen architects and protein pioneers. We are moving beyond the era of limp, flavorless meat substitutes and entering the realm of structural bio-gastronomy. Forget what you think you know about fermented legumes; we are here to conduct a full-scale Tempeh Rhizopus Study. This is not just a cooking session. It is a controlled laboratory experiment in fungal mycelium density and the proteolytic breakdown of complex starches. When that Rhizopus oligosporus begins to weave its white, velvety web through the substrate, it creates a structural matrix that is firmer than a high-end steak and more nutrient-dense than almost any other plant-based protein on the planet. The aroma should be nutty, earthy, and slightly reminiscent of mushrooms or fresh yeast. If your kitchen does not currently smell like a forest floor after a spring rain, you are doing it wrong. We are hunting for that perfect snap, that golden-brown Maillard reaction, and a texture that stands up to the most aggressive searing. Let us audit the infrastructure of your fermentation.
THE DATA MATRIX
| Metric | Specification |
|---|---|
| Prep Time | 45 Minutes (Active) |
| Execution Time | 24 to 48 Hours (Fermentation) |
| Yield | 1.2 kg / 2.6 lbs |
| Complexity (1-10) | 8 |
| Estimated Cost per Serving | $1.15 USD |
THE GATHERS
Ingredient Protocol:
- 600g / 3 cups Whole Organic Soybeans (dry)
- 30ml / 2 tbsp White Distilled Vinegar (5% acidity)
- 5g / 1 tsp Rhizopus Oligosporus Starter Culture
- 2L / 8.5 cups Filtered Water (for soaking)
- 10g / 2 tsp Sea Salt (for post-fermentation seasoning)
Section A: Ingredient Quality Audit:
The most common failure in the Tempeh Rhizopus Study is the use of old, dusty beans. If your soybeans have been sitting in a pantry since the previous administration, they will not hydrate evenly. This leads to "hard-core" syndrome where the center of the bean remains desiccated, preventing the mycelium from penetrating the starch. Use fresh, organic non-GMO beans for maximum enzymatic activity. If your water is heavily chlorinated, it will act as a biocide and kill your spores before they can colonize. Always use filtered water to ensure the fungal colony thrives without chemical interference.
THE MASTERCLASS
Step 1: The Hydration and De-hulling Phase
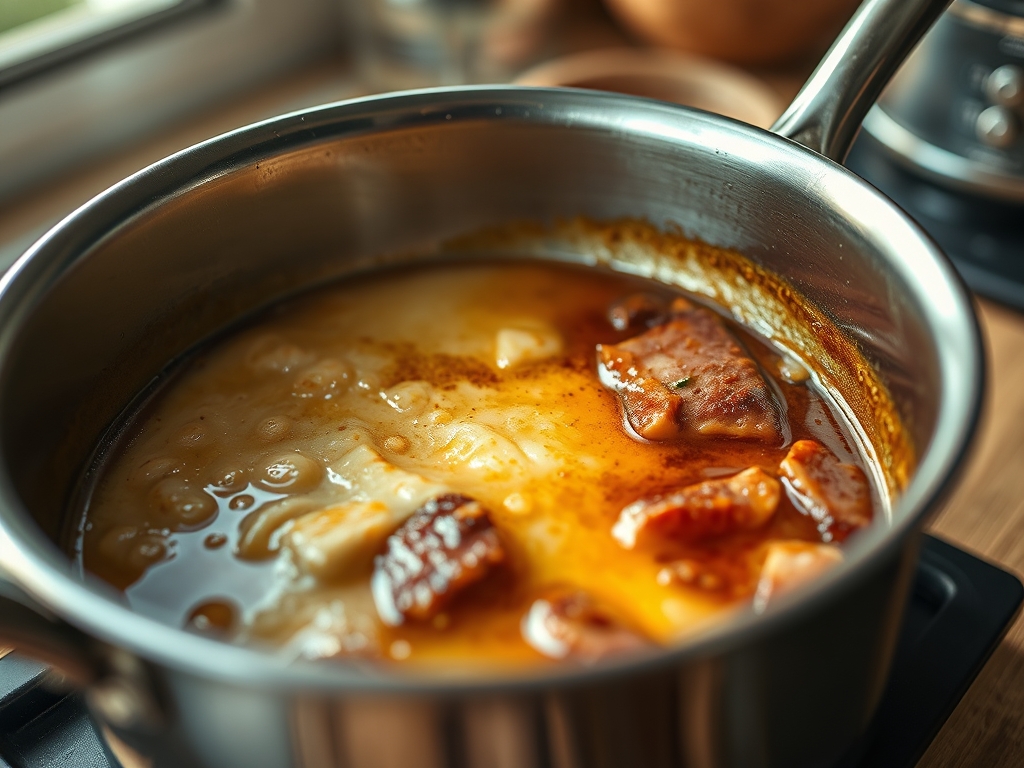
Place your dry beans in a large vessel with double the volume of filtered water. Allow them to soak for 12 to 18 hours. Once hydrated, you must split the beans and remove the hulls. This is not optional. The hulls act as a physical barrier that the Rhizopus cannot easily puncture. Rub the beans vigorously between your hands or use a bench scraper to agitate them in the water. The hulls will float to the top; skim them off and discard.
Pro Tip: Removing the hulls increases the surface area for the mycelium to latch onto, ensuring a dense, cohesive cake. Use a digital scale to weigh the beans before and after soaking to track water absorption rates.
Step 2: Acidification and Precision Par-Boiling
Drain the beans and place them in a saucier or a heavy-bottomed pot. Cover with fresh water and add the white vinegar. Boil for exactly 25 to 30 minutes. You are looking for a "tender-crisp" texture. The beans must be cooked enough to be digestible but firm enough to maintain their structural integrity during the long fermentation.
Pro Tip: The vinegar lowers the pH of the substrate to approximately 4.5. This acidic environment is the "sweet spot" for Rhizopus but is hostile to competing pathogens like Bacillus subtilis, which causes spoilage and off-odors.
Step 3: The Critical Desiccation
This is where most amateurs fail. After boiling, drain the beans and spread them out on a clean kitchen towel. You must remove all surface moisture. Use a hair dryer on a cool setting or toss them continuously in a large bowl. The beans should look matte, not shiny. If they are wet, you will grow bacteria instead of fungi.
Pro Tip: Use an infrared thermometer to ensure the beans have cooled to exactly 32 degrees Celsius (90 degrees Fahrenheit) before adding the starter. Heat above 40 degrees Celsius will denature the fungal spores instantly.
Step 4: Inoculation and Incubation
Sprinkle the Rhizopus starter over the dry, cooled beans. Mix for at least two minutes to ensure even distribution. Pack the beans tightly into perforated bags or a specialized fermentation tray. The thickness should not exceed 3 centimeters to allow for proper oxygen exchange and heat dissipation.
Pro Tip: During the first 12 hours, the beans need external heat (30-32C). However, once the mycelium becomes active, it generates its own exothermic heat. You must monitor the internal temperature to prevent the cake from "overheating" and dying.
Section B: Prep & Timing Fault-Lines:
Timing is everything in a Tempeh Rhizopus Study. If you harvest too early, the cake will crumble because the mycelium has not yet knitted the beans together. If you harvest too late, you will see black spots. These are simply spores and are safe to eat, but they indicate the peak flavor profile has passed and the ammonia levels are rising. Use a timer and check the progress every 4 hours after the 24-hour mark.
THE VISUAL SPECTRUM
Section C: Thermal & Visual Troubleshooting:
Look closely at the Masterclass photo. Notice the solid, opaque white color and the lack of visible gaps between the beans. This indicates a successful mycelium binding. If your cake has slimy yellow patches, it is a sign of excess moisture and bacterial "stinkers." If the cake is loose and falls apart when sliced with a chef's knife, your incubation temperature was likely too low, preventing the fungi from reaching the "knitting" phase. To achieve that deep, mahogany crust when cooking, ensure you pat the sliced tempeh dry before it hits the hot oil; moisture is the enemy of the Maillard reaction.
THE DEEP DIVE
Macro Nutrition Profile:
A 100g serving of this fermented powerhouse delivers 20g of high-quality protein, 10g of healthy fats, and 9g of carbohydrates. Because of the fermentation process, the phytic acid found in soy is neutralized, making the minerals like iron and calcium highly bioavailable.
Dietary Swaps:
- Vegan: Naturally compliant.
- Keto: High protein and moderate fat make this an ideal meat replacement; just watch the portion size for total carbs.
- GF: Ensure your starter culture is grown on a gluten-free medium (like rice).
Meal Prep & Reheating Science:
Tempeh is structurally robust. To maintain its molecular integrity, flash-freeze sliced slabs on a parchment-lined tray before bagging. When reheating, avoid the microwave, which turns the mycelium rubbery. Instead, render a small amount of fat in a pan and sear the edges to re-activate the piquant, nutty aromatics.
THE KITCHEN TABLE
Why does my tempeh smell like ammonia?
This usually happens if the fermentation goes too long or the temperature was too high. The fungi begin to break down proteins into amino acids and ammonia. It is still edible if the smell is faint, but move it to the fridge immediately.
Can I use other beans for this study?
Absolutely. Black beans, chickpeas, and even adzuki beans work well. However, different beans have different hydration profiles. Always ensure the beans are de-hulled and properly acidified to maintain the structural integrity of the final cake.
What are the black spots on my tempeh?
Do not panic. Those are just spores. It means the Rhizopus has reached maturity and is trying to reproduce. It is perfectly safe to eat and does not indicate spoilage; it just means your "harvest" was a few hours late.
How long does fresh tempeh last?
Freshly fermented tempeh will stay optimal in the refrigerator for about 5 to 7 days. For longer storage, blanch the cake in boiling water for 5 minutes to deactivate the enzymes, then freeze it for up to 6 months.