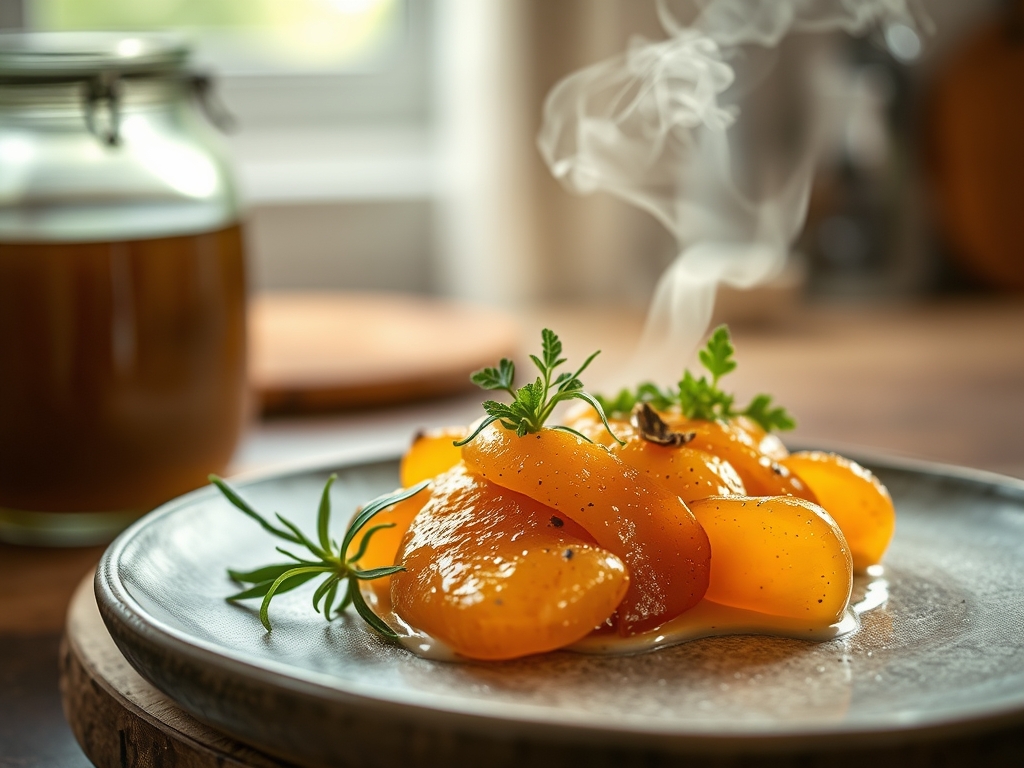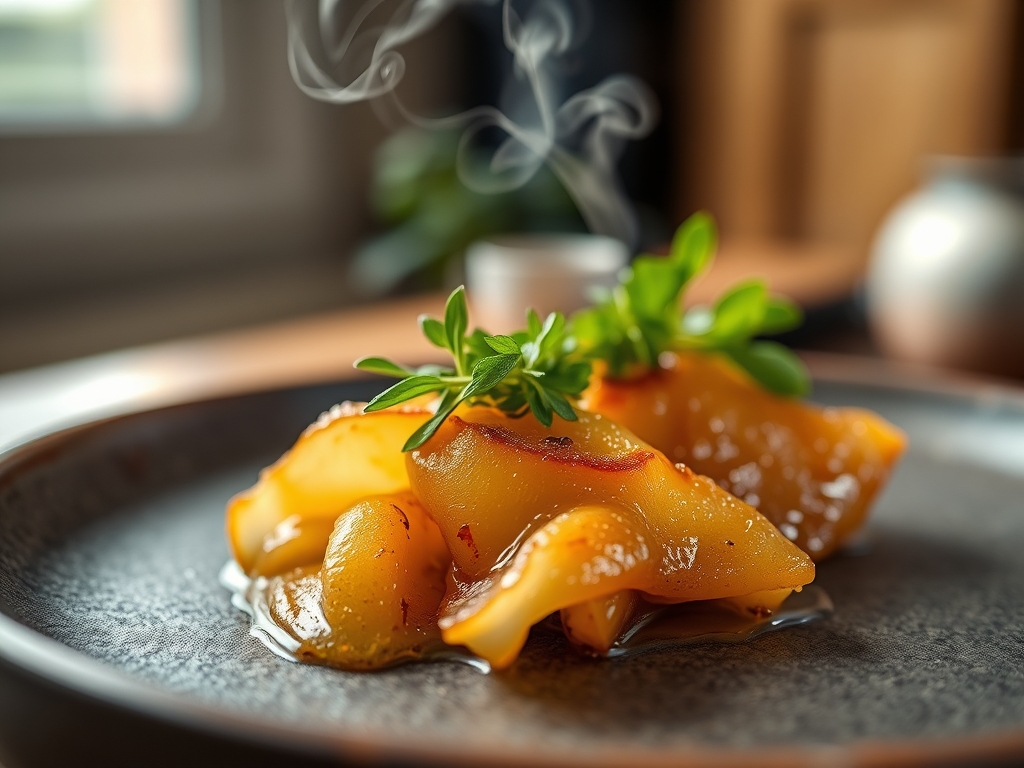
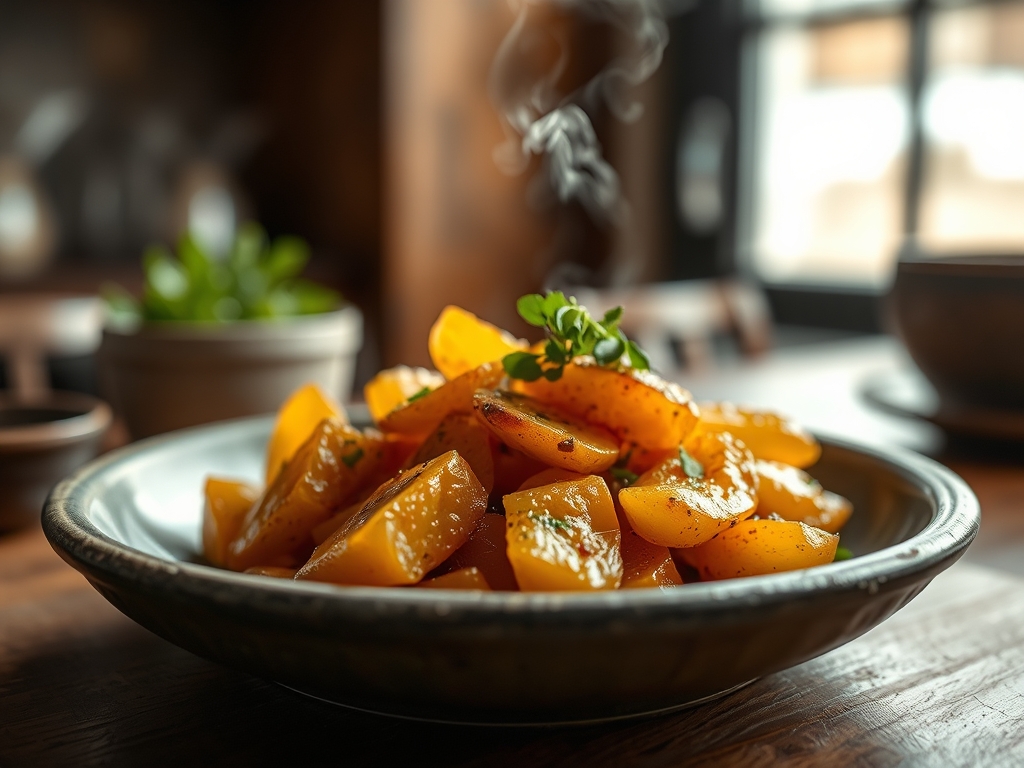
Snap your senses to attention because we are diving into the molecular architecture of the ultimate palate cleanser. Forget those neon pink, preservative-choked strips found in plastic tubs at the grocery store. We are conducting a structural audit of the real deal. When you bite into a properly cured piece of ginger, the experience should be a high-velocity collision of heat and acidity. It starts with a sharp, piquant sting that vibrates across the tongue, followed immediately by a cooling, vinegar-driven finish that resets your neural pathways for the next bite. This is not just a garnish; it is a digestive catalyst designed to trigger enzyme secretion and prime the gut for nutrient absorption. Our Pickled Ginger Data suggests that the ideal cure achieves a specific balance of acetic acid and gingerol. We are looking for a texture that snaps under the teeth but remains tender enough to dissolve into a spicy whisper. This is culinary engineering at its most refined, where the humble rhizome is transformed into a translucent, golden-hued tool of gastronomic precision.
THE DATA MATRIX
| Metric | Specification |
|---|---|
| Prep Time | 25 Minutes |
| Execution Time | 10 Minutes (Plus 24-hour cure) |
| Yield | 500g / 1.1 lbs |
| Complexity (1-10) | 4 |
| Estimated Cost per Serving | $0.12 |
THE GATHERS
Ingredient Protocol:
- Fresh Young Ginger: 450g / 1 lb (Look for pink tips and thin skin).
- Rice Vinegar: 350ml / 1.5 cups (Unseasoned for maximum control).
- Granulated Sugar: 150g / 0.75 cups (Or monk fruit for keto variants).
- Sea Salt: 15g / 1 tablespoon (Fine grain for rapid dissolution).
- Water: 120ml / 0.5 cups (Filtered to prevent mineral interference).
Section A: Ingredient Quality Audit:
If your raw ginger feels woody or fibrous, you have failed the procurement phase. Old ginger contains lignified fibers that no amount of pickling will soften. To fix this, use a bench scraper to peel the skin and only slice the most tender parts of the bulb. If your vinegar smells overly harsh or chemical, it likely lacks the necessary amino acid profile. Upgrade to a high-quality brewed rice vinegar to ensure the final product has a soft, rounded acidity rather than a jagged, burning finish. If the ginger lacks that signature pink hue, do not reach for food coloring. Authentic pinking occurs when young ginger reacts with acid. If using mature ginger, add a single slice of radish to the jar to infuse a natural blush.
THE MASTERCLASS
1. The Peeling and Preparation Phase
Use the edge of a metal spoon to scrape the skin off the ginger. This method is superior to a vegetable peeler because it follows the irregular contours of the rhizome without sacrificing the nutrient-dense flesh immediately beneath the surface. Once peeled, use a digital scale to ensure your weight measurements are precise before proceeding to the slicing stage.
Pro Tip: Slicing against the grain is non-negotiable. By cutting across the fibers, you shorten the cellulose chains, resulting in a tender snap rather than a stringy, chewy mess.
2. Precision Mandoline Slicing
Set your Japanese mandoline to the thinnest possible setting; we are aiming for translucency. Slice the ginger into a stainless steel mixing bowl. Sprinkle the sea salt over the slices and toss vigorously to ensure even coverage. Let this sit for 30 minutes to render out the excess moisture and soften the cell walls.
Pro Tip: The salt draws out moisture via osmosis, which creates space within the cellular structure for the pickling brine to eventually occupy. This ensures the flavor penetrates to the core of every slice.
3. The Blanching Sequence
Bring a small pot of filtered water to a rolling boil. Submerge the salted ginger slices for exactly thirty seconds. Immediately drain them through a fine-mesh sieve and spread them out on a clean lint-free towel to air dry. This step tempers the raw heat of the gingerol, transforming it into a sophisticated, manageable warmth.
Pro Tip: Blanching denatures specific enzymes that cause bitterness. Professional chefs use this "shock" method to ensure the ginger remains crisp while removing the "dirt" notes often found in raw tubers.
4. Brine Synthesis
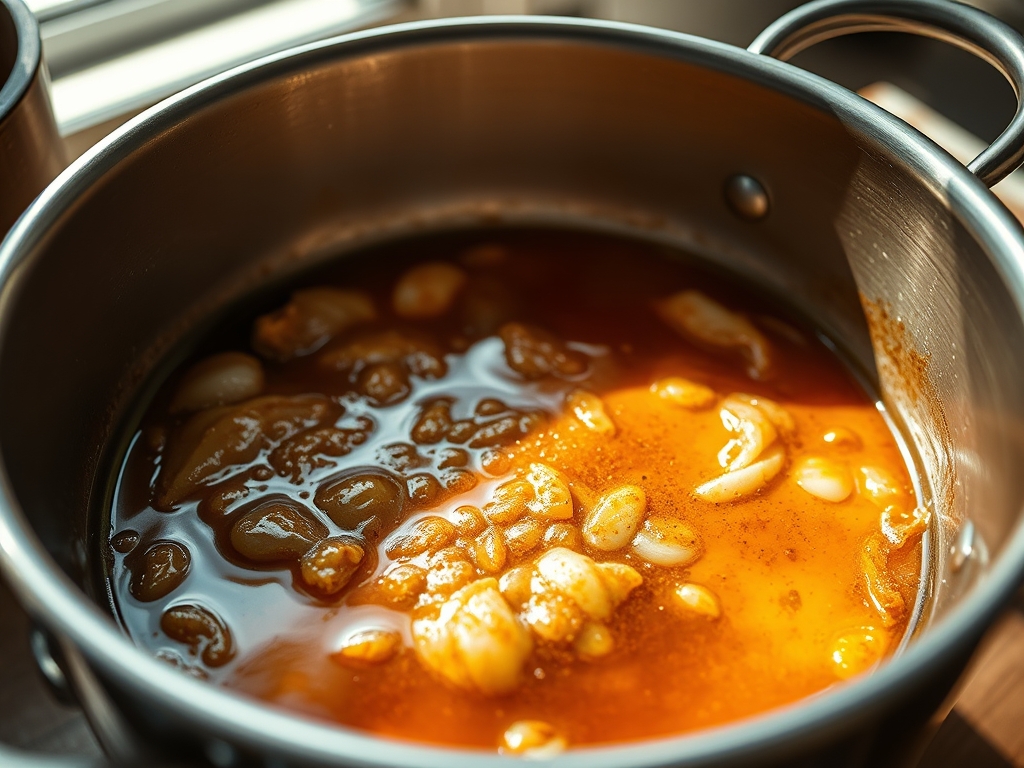
In a stainless steel saucier, combine the rice vinegar, sugar, and water. Heat over medium flame, whisking constantly until the solids are fully dissolved. Do not allow the mixture to reach a hard boil; you want to maintain the delicate acetic acid profile without scorching the sugars.
Pro Tip: Using a saucier with rounded bottom edges prevents sugar from crystallizing in the corners, ensuring a perfectly homogenous, viscous brine that coats every fiber of the ginger.
5. The Curing Immersion
Place the blanched ginger into a sterilized glass jar. Pour the hot brine over the ginger until it is completely submerged. Seal the jar tightly and allow it to cool to room temperature before transferring it to the refrigerator. The Pickled Ginger Data indicates that the flavor peak occurs after 24 to 48 hours of cold infusion.
Pro Tip: As the liquid cools, a vacuum seal is created. This pressure helps the brine infuse the ginger slices more deeply, resulting in a consistent flavor profile throughout the entire batch.
Section B: Prep & Timing Fault-Lines:
The most common failure in this protocol is the "Thermal Gap." If you pour cold brine over hot ginger, or vice versa, you risk a muddy texture. The ginger must be blanched and slightly cooled, while the brine must be hot enough to penetrate the surface but not boiling. If your ginger turns a dull grey instead of pink or pale yellow, your blanching time was likely too long, effectively cooking the ginger and destroying its reactive compounds.
THE VISUAL SPECTRUM
Section C: Thermal & Visual Troubleshooting:
Referencing the Masterclass photo, observe the high level of translucency in the slices. If your ginger appears opaque, your slices are too thick; recalibrate your mandoline. If the brine appears cloudy, you likely used tap water with high mineral content or failed to rinse the salt properly. The liquid should be crystal clear. Look for the "curl" in the slices; a slight undulation indicates that the cell walls have successfully softened and absorbed the vinegar solution. If the slices are flat and rigid, the salt-cure time was insufficient.
THE DEEP DIVE
Macro Nutrition Profile
Per 30g serving, this cure provides approximately 20 calories, 5g of carbohydrates, and 0g of fat. Its primary value lies in its bioactive compounds, specifically gingerol and shogaol, which assist in gastric motility and reduce intestinal inflammation.
Dietary Swaps
- Vegan: This recipe is naturally vegan.
- Keto: Replace granulated sugar with an erythritol or monk fruit blend at a 1:1 ratio. Ensure the sweetener is fully dissolved to avoid a gritty texture.
- GF: Ensure your rice vinegar is certified gluten-free, as some cheaper brands use grain-based alcohol starters.
Meal Prep & Reheating Science
Do not reheat pickled ginger. Heat will break down the acetic acid and turn the ginger mushy. To maintain molecular structure, always use clean, non-reactive tongs to remove slices from the jar. This prevents the introduction of bacteria that could compromise the brine's pH balance. Properly stored in a refrigerated, airtight container, the ginger will maintain its structural integrity for up to three months.
THE KITCHEN TABLE
Why is my ginger not turning pink?
Natural pinking requires young "spring" ginger. Mature ginger lacks the anthocyanins needed for the reaction. To fix this, add a small slice of beet or red radish to the brine to mimic the aesthetic without altering the flavor profile significantly.
Can I use apple cider vinegar instead?
You can, but it will fundamentally change the flavor. Apple cider vinegar introduces malic acid and fruity notes that compete with the ginger. Rice vinegar is the industry standard for its clean, neutral acidity that allows the gingerol to shine.
How do I stop the ginger from being too spicy?
Increase the blanching time by thirty seconds. This further breaks down the heat-producing compounds. Additionally, ensure you are slicing the ginger paper-thin; thicker slices retain more of the raw, aggressive heat that can overwhelm the palate.
My brine has crystallized in the fridge. What happened?
This occurs when the sugar-to-liquid ratio is too high or the sugar wasn't fully dissolved during the heating phase. Gently warm the jar in a bowl of hot water to re-incorporate the crystals, then stir thoroughly before returning to the fridge.