Imagine a world where the humble seed is no longer the consolation prize for the allergy-prone. We are moving beyond the grit of health-food store pastes and entering the realm of high-performance lipid engineering. This Sunflower Butter Audit is not a casual recipe; it is a full-scale inspection of the molecular transformation that occurs when raw Helianthus annuus seeds meet controlled thermal radiation. We are hunting for that perfect, liquid-gold viscosity that coats the palate without the cloying, chalky residue of amateur attempts. To achieve this, we must respect the smoke point of fragile polyunsaturated fats while maximizing the Maillard reaction. We are building a structural emulsion from the ground up. If you have ever suffered through a jar of separated, gray sludge, consider this your formal extraction from mediocrity. We are going to aerate, emulsify, and stabilize until we reach a state of spreadable perfection that rivals the most elite nut butters on the global market. Strap in; your food processor is about to become a centrifuge of flavor.
THE DATA MATRIX
| Metric | Specification |
|---|---|
| Prep Time | 5 Minutes |
| Execution Time | 25 Minutes |
| Yield | 500ml / 2 Cups |
| Complexity (1-10) | 4 |
| Estimated Cost per Serving | $0.45 |
THE GATHERS
Ingredient Protocol:
- 450g / 3 cups Raw hulled sunflower seeds (organic preferred)
- 15ml / 1 tbsp Neutral oil (avocado or grapeseed)
- 5ml / 1 tsp High-quality sea salt (Maldon or Fleur de Sel)
- 30ml / 2 tbsp Maple syrup or honey (optional for glycemic balance)
- 2g / 1/2 tsp Ground cinnamon (optional for aromatic depth)
Section A: Ingredient Quality Audit:
The primary failure point in any seed-based lipid project is oxidative rancidity. If your raw seeds smell like old paint or wet cardboard, abort the mission immediately. No amount of roasting can mask the bitter metallic notes of oxidized fats. To fix sub-par seeds that are merely "flat," perform a quick rinse in cold water and pat them bone-dry before roasting; this removes residual dust that can scorch. If your salt is too coarse, it will not integrate into the fat phase. The technical fix is to pulverize your salt into a fine powder using a mortar and pestle or a spice grinder before incorporation. This ensures a uniform distribution across the tongue.
THE MASTERCLASS
Step-by-Step Execution:
1. Thermal Activation and Roasting
Spread your seeds in a single, uniform layer on a heavy-gauge rimmed baking sheet. Roast at 175C / 350F for 10 to 12 minutes. You are looking for a transition from pale cream to a vibrant, golden tan. Do not walk away. The window between "toasted" and "carbonized" is less than sixty seconds.
Pro Tip: Use a digital scale to ensure your seed mass matches your equipment capacity. Overcrowding the tray prevents even airflow, leading to uneven roasting and a patchy flavor profile.
2. The Cooling Phase
Transfer the seeds immediately to a cool saucier or a stainless steel mixing bowl to stop the residual carry-over cooking. If they stay on the hot baking sheet, the internal oils will continue to cook, potentially reaching their smoke point and turning bitter.
Pro Tip: Use a bench scraper to move the seeds efficiently. This tool ensures you do not leave behind the small, highly-toasted fragments that provide the most intense Maillard notes.
3. Primary Mechanical Breakdown
Load the warm seeds into a high-speed food processor. Pulse ten times to break the hulls, then run on high for three minutes. The mixture will look like dry sand, then a thick paste. This is the stage where the cell walls rupture and release their internal lipids.
Pro Tip: Be patient. The heat generated by the friction of the blades actually helps to render the oils from the seed solids, facilitating a smoother transition to a liquid state.
4. Lipid Integration and Emulsification
While the processor is running, slowly stream in your neutral oil. This acts as a bridge, helping the naturally occurring oils to form a continuous phase. Add your salt and any sweeteners now. The mixture will suddenly shift from a sludge to a glossy, viscous liquid.
Pro Tip: Monitor the temperature of the processor bowl. If it feels excessively hot, pause for two minutes. Excessive heat during blending can cause the emulsion to "break," resulting in a grainy texture rather than a silky one.
5. Final Aeration and Storage
Run the processor for one final minute on the highest setting to aerate the butter. This incorporates micro-bubbles that lighten the mouthfeel. Pour the finished product into a glass jar. It will thicken significantly as it cools to room temperature.
Pro Tip: Use a silicone spatula to ensure every gram of the emulsion is recovered. Store the jar upside down for the first hour; this prevents any early-stage oil separation before the structure fully sets.
Section B: Prep & Timing Fault-Lines:
The most common human error is impatience during the blending phase. If you stop when the mixture looks like "wet sand," you have failed to achieve full lipid release. You must push through the "clump stage" where the butter forms a ball and bounces around the processor. Another fault-line is temperature control; adding cold honey to a hot seed emulsion can cause the sugars to seize, creating gritty lumps. Always ensure your additives are at room temperature before they hit the spinning blades.
THE VISUAL SPECTRUM
Section C: Thermal & Visual Troubleshooting:
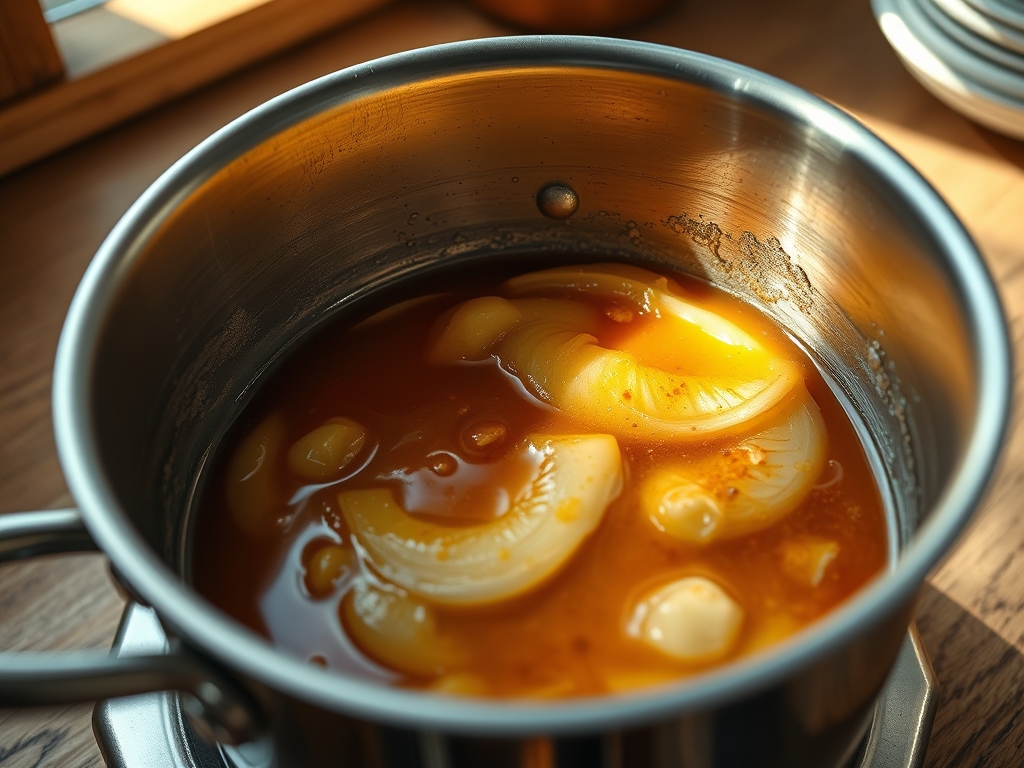
Referencing the Masterclass photo, your goal is a monochromatic, warm caramel hue. If your butter appears gray or dull, your seeds were likely under-roasted or were of a low-grade, dusty variety. If the surface shows immediate oil pooling, the emulsion was not processed long enough to encapsulate the fats. A "broken" look, where the solids look like curdled milk, indicates that the seeds were too hot when the oil was added. To fix this, add a teaspoon of warm water and pulse rapidly; the moisture can sometimes help re-establish the emulsion, though it will reduce the shelf life.
THE DEEP DIVE
Macro Nutrition Profile:
Per 30g / 2 tbsp serving, expect approximately 190 calories, 16g of healthy fats (primarily monounsaturated and polyunsaturated), 6g of protein, and 4g of carbohydrates. It is a powerhouse of Vitamin E and Selenium, acting as a functional fuel for cellular repair.
Dietary Swaps:
- Vegan: Use maple syrup or agave instead of honey.
- Keto: Omit all sweeteners or use a drop of liquid stevia. Ensure the neutral oil is MCT or avocado-based.
- GF: Naturally gluten-free, but ensure seeds are processed in a certified nut-free and gluten-free facility to avoid cross-contamination.
Meal Prep & Reheating Science:
Sunflower butter is shelf-stable at room temperature for up to three weeks, but refrigeration extends this to three months. Because of its high unsaturated fat content, it will firm up in the cold. To restore its viscous flow, do not microwave the jar, as this creates hot spots that can infuse the oil with a burnt taste. Instead, let it sit at room temperature for twenty minutes or stir vigorously to use mechanical energy to soften the fats.
THE KITCHEN TABLE
Why is my sunflower butter bitter?
Bitterness usually stems from over-roasting or using rancid seeds. Sunflower seeds contain chlorogenic acid which can react with protein; if roasted too dark, this creates a piquant but unpleasant acridity. Ensure a light golden roast for the best profile.
Can I make this without a food processor?
A high-speed blender works, but you must use the tamper constantly to keep the seeds moving toward the blades. A mortar and pestle is possible for the masochistic, but you will never achieve the professional, aerated silkiness of mechanical processing.
Why did my butter turn green overnight?
This is a harmless chemical reaction. The chlorogenic acid in sunflower seeds reacts with baking soda or powder in recipes, but it can also oxidize slightly in the jar. It does not affect flavor or safety; it is just science saying hello.
How do I get it as smooth as the store-bought versions?
Commercial manufacturers use industrial mills that grind to a micron level. At home, the secret is a longer processing time (up to 8 minutes) and the addition of a small amount of oil to help the solids flow.