Welcome to the microscopic industrial complex where the humble cucumber is merely a vessel for a much more ambitious architectural project. We are not just making pickles; we are conducting a high-stakes Probiotic Brine Audit to ensure your kitchen operates as a high-functioning microbial loop. Imagine the snap of a cold spear that releases a piquant burst of lactic acid; this is the result of a perfectly calibrated electrolyte environment. Most home cooks treat brine like a discarded byproduct, but in this infrastructure, the liquid is the lead architect. We are looking for a specific clarity and a precise salinity that allows Lactobacillus to thrive while suppressing the chaotic insurgents of mold and yeast. If your current pickling liquid looks like a stagnant pond, your system is failing. It is time to audit your inputs, recalibrate your salinity sensors, and transform your jars into pressurized chambers of probiotic excellence. We are building a shelf-stable, gut-healing infrastructure that demands respect and a very sharp digital scale.
THE DATA MATRIX
| Metric | Specification |
|---|---|
| Prep Time | 25 Minutes |
| Execution Time | 7 to 14 Days (Fermentation) |
| Yield | 2 Liters / 8.5 Cups |
| Complexity (1-10) | 4 |
| Estimated Cost per Serving | $0.45 |
THE GATHERS
Ingredient Protocol:
- 1.5 kg / 3.3 lbs Firm Kirby Cucumbers (Small and bumpy)
- 1 Liter / 4.25 cups Filtered Water (Chlorine-free)
- 50g / 3.5 tbsp Sea Salt (Non-iodized)
- 10g / 2 tsp Whole Black Peppercorns
- 15g / 4 cloves Fresh Garlic (Smashed)
- 5g / 1 tbsp Fresh Dill Heads
- 2g / 1 tsp Mustard Seeds
- 1 Large Grape Leaf or Oak Leaf (For tannins)
Section A: Ingredient Quality Audit:
The primary failure point in a Probiotic Brine Audit is the water supply. Municipal tap water often contains chlorine or chloramines; these are literal chemical weapons designed to kill the very microbes we are trying to farm. If your brine smells like a swimming pool, your fermentation will stall. Use a charcoal filter or boil your water and let it sit for 24 hours to dissipate gases. Secondly, check your salt. Anti-caking agents found in standard table salt will turn your brine cloudy and unappealing. Switch to pure sea salt or Himalayan salt to ensure a crystal-clear electrolytic solution. Finally, the cucumbers must be "field-fresh." If they are soft to the touch, the pectin has already begun to degrade. A soft cucumber in a probiotic loop is a structural liability that no amount of salt can fix.
THE MASTERCLASS
Step 1: The Salinity Calibration
Begin by weighing your filtered water on a digital scale. Accuracy is non-negotiable here. Dissolve your salt into the water to create a 5 percent brine solution. Use a stainless steel whisk to ensure the salt is fully integrated and the liquid is clear.
Pro Tip: This salinity level is the "Goldilocks Zone." It is high enough to kill spoilage bacteria like Clostridium but low enough to allow the salt-tolerant Lactobacillus to infuse the vegetables with lactic acid.
Step 2: The Vessel Sanitization
Clean your glass fermentation crocks or wide-mouth jars with boiling water. Use a bench scraper to remove any stubborn labels or adhesive from the exterior so you can clearly monitor the turbidity of the liquid as it changes over time.
Pro Tip: Micro-contamination is the enemy of the loop. Even a small residue of dish soap can disrupt the surface tension of the brine and prevent a healthy microbial pellicle from forming.
Step 3: The Structural Packing
Trim the blossom end of each cucumber; this is where enzymes live that can soften the fruit. Pack the cucumbers vertically into the jars, wedging them tightly so they cannot float. Tuck the garlic, dill, and spices into the gaps.
Pro Tip: Use a mandoline if you prefer sliced pickles, but keep them thick. The goal is to maintain a viscous internal cell structure that resists the softening effects of the acid.
Step 4: The Tannin Shield
Place a grape leaf or oak leaf over the top of the cucumbers before pouring the brine. Ensure every vegetable is completely submerged. Use a glass weight or a small ceramic puck to keep the contents under the "water line."
Pro Tip: Tannins act as an enzyme inhibitor. They prevent the pectinase from breaking down the cucumber's cell walls, ensuring that world-class "snap" when you bite into the finished product.
Step 5: The Atmospheric Venting
Seal the jars with a fermentation airlock or cover them with a breathable cloth secured by a rubber band. Place the jars in a dark area between 65 and 72 degrees Fahrenheit.
Pro Tip: As the microbes consume sugars, they produce CO2. If you use a solid lid without an airlock, you must "burp" the jar daily to prevent a pressure-induced structural failure of the glass.
Section B: Prep & Timing Fault-Lines:
Temperature is the throttle of your microbial engine. If your kitchen is over 80 degrees, the fermentation will happen too fast; this leads to "hollow heart" pickles and a funky, yeasty flavor profile. Conversely, if it is below 60 degrees, the bacteria will go dormant, leaving your vegetables to simply rot in salt water. Use a digital probe thermometer to audit your ambient room temperature. If the environment is too hot, move your jars to a lower shelf or a cooler basement. Timing is also critical; start tasting at day five. The transition from "salty cucumber" to "probiotic pickle" happens rapidly.
THE VISUAL SPECTRUM
Section C: Thermal & Visual Troubleshooting:
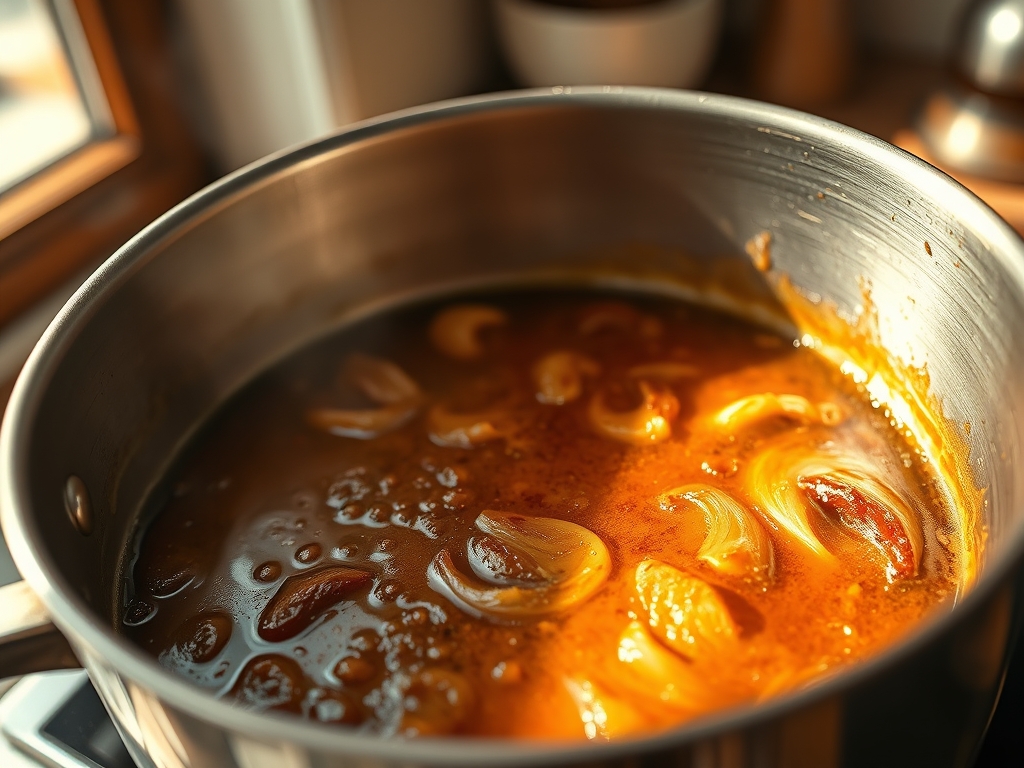
Referencing the Masterclass photo, you should see a slight cloudiness develop after day three; this is a positive sign of microbial activity. However, if you see a fuzzy white or green growth on the surface, that is mold. If it is "Kahm Yeast" (a flat, white, dusty film), it is harmless but should be skimmed off with a fine-mesh skimmer to prevent off-flavors. If your cucumbers turn a dull, greyish brown instead of a vibrant olive green, your salinity was likely too low or the temperature was too high. The goal is a translucent, olive-hued flesh with a brine that looks like a slightly misty morning. If the brine turns pink or black, discard the entire batch immediately; this indicates a catastrophic breach of the microbial loop.
THE DEEP DIVE
- Macro Nutrition Profile: Per 100g serving, expect 12 calories, 0g fat, 2g carbohydrates, and 1g protein. The real value lies in the 10 billion CFUs (Colony Forming Units) of probiotics per jar.
- Dietary Swaps: This protocol is naturally Vegan, Keto, and Gluten-Free. For a "Sour" variation, increase the fermentation time by 7 days. For "Half-Sours," move to the refrigerator after 4 days.
- Meal Prep & Reheating Science: Never heat your probiotic brine. High temperatures (above 115 degrees Fahrenheit) will thermally shock and kill the beneficial microbes. To maintain molecular structure, always serve chilled directly from the brine.
THE KITCHEN TABLE
Why is my brine so cloudy?
Cloudiness is usually a sign of active fermentation. The Lactobacillus are multiplying and creating lactic acid. As long as there is no foul odor or fuzzy mold, the cloudiness indicates a successful probiotic audit and a healthy microbial loop.
Can I reuse the brine for a second batch?
Yes, but treat it as a "starter." Use 10 percent old brine with 90 percent fresh brine. Reusing 100 percent of the old brine can lead to overly soft pickles because the acid levels are already too high for the initial stage.
My pickles are hollow inside. What happened?
This usually occurs if the cucumbers were not fresh or if the fermentation happened too rapidly in a hot kitchen. The internal gases expand faster than they can escape the cucumber's skin, creating a hollow cavity in the center.
Do I have to use a grape leaf?
You do not have to, but you need a tannin source for crunch. Black tea bags or bay leaves work as effective substitutes. Without tannins, the enzymes will eventually turn your cucumbers into a mushy, unappealing mess.