Imagine a liquid that vibrates with the frantic energy of a billion microscopic workers; a tonic that tastes like a summer meadow caught in a thunderstorm. This is not your grandmother's lemonade. This is Rejuvelac Grain Water. We are talking about a fermented powerhouse that bridges the gap between ancient preservation and modern enzymatic bio-hacking. When you crack open a fresh batch, the aroma should be piquant and bright; a citrusy invitation that signals a successful microbial colonization. It is the backbone of plant-based cheese making and the ultimate digestive primer. If you are still buying bottled probiotics, you are playing a losing game. The real power lies in the cloudy, pale gold depths of a home-fermented extraction. We are stripping away the starch and unlocking the dormant enzymes trapped within the husk of the grain. This is culinary infrastructure at its most foundational level. Get ready to audit your pantry and overhaul your gut health with a liquid that is as sharp as a chef's knife and as refreshing as a cold plunge.
THE DATA MATRIX
| Metric | Specification |
|---|---|
| Prep Time | 15 Minutes (Active) |
| Execution Time | 3 to 5 Days (Passive) |
| Yield | 1.9 Liters / 0.5 Gallons |
| Complexity (1-10) | 3 |
| Estimated Cost per Serving | $0.12 |
THE GATHERS
Ingredient Protocol:
- Organic Soft Wheat Berries, Rye, or Quinoa: 180g / 1 cup
- Filtered, Dechlorinated Water: 1.9L / 8 cups
- Optional: Lemon Peel (Pith removed): 5g / 1 strip
Section A: Ingredient Quality Audit:
The primary failure point in Rejuvelac Grain Water production is the use of irradiated or "dead" grains. If your grains do not sprout, your tonic will not ferment; it will simply rot. Audit your supply by performing a 24-hour soak test. If no "tail" emerges from the germ, the grain has been heat-treated or is too old. Technical Fix: Always source "Sprouting Grade" organic seeds. Furthermore, chlorine in tap water acts as a broad-spectrum antimicrobial agent that will execute your beneficial lactobacilli before they can colonize. Use a charcoal filter or boil and cool your water to ensure a hospitable environment for the enzymatic extraction.
THE MASTERCLASS
1. The Initial Hydration and Rinse
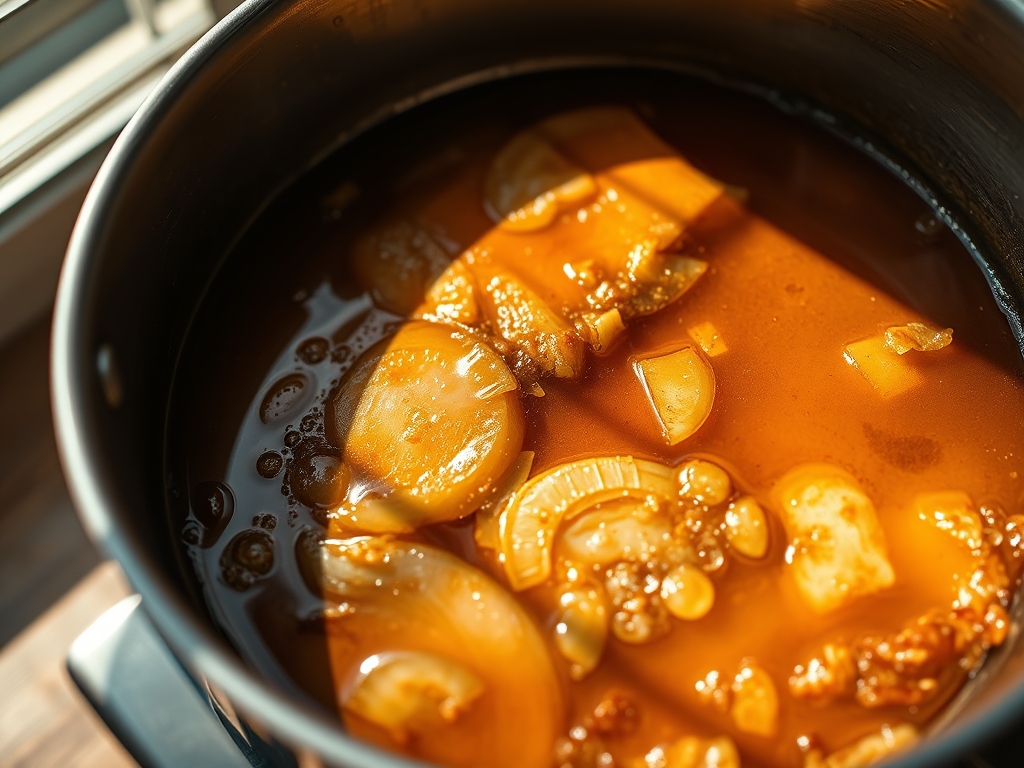
Place your dry grains into a large glass jar and cover with double the volume of filtered water. Use a digital scale to ensure precision. Agitate the grains to release surface dust and debris. Drain the water through a fine-mesh sieve and repeat until the water runs clear.
Pro Tip: The science here is about removing saponins and surface inhibitors. Using a bench scraper to move grains from the scale to the jar prevents cross-contamination of your workspace.
2. The Sprouting Phase
Cover the jar with a breathable cheesecloth or a sprouting lid. Incline the jar at a 45-degree angle in a draining rack. Rinse and drain the grains twice daily. You are looking for a tiny white sprout (the "tail") to emerge. This signifies that the grain has transitioned from a dormant seed to a living plant, activating a massive release of enzymes.
Pro Tip: This biological shift converts complex starches into simpler sugars. A digital thermometer should confirm an ambient room temperature between 20C and 24C (68F to 75F) for optimal growth speed.
3. The Primary Fermentation
Once sprouted, transfer the grains to a clean 2-liter jar. Add the 1.9L of filtered water. Secure the cheesecloth with a rubber band to prevent fruit flies while allowing the mixture to aerate. Place the jar in a dark corner of your counter.
Pro Tip: Do not use a saucier or any metal pot for this stage. The lactic acid produced can react with reactive metals, leaching a metallic tang into your tonic. Stick to glass or high-quality ceramic.
4. The Extraction Audit
After 48 hours, inspect the liquid. It should be cloudy with a pale yellow hue, and small bubbles should rise to the surface when the jar is nudged. The scent should be clean and lemony. If it smells like old gym socks or sulfur, the batch is compromised and must be discarded.
Pro Tip: Use a pH strip to verify safety. A finished Rejuvelac should sit between 3.8 and 4.5 pH. This acidity prevents the growth of pathogenic bacteria.
5. Harvesting and Storage
Strain the liquid into glass bottles, leaving the spent grains behind. The grains can actually be used for a second, shorter fermentation (24 hours) before they are fully spent and relegated to the compost bin. Refrigerate the liquid immediately to slow the fermentation process.
Pro Tip: Use a funnel with a built-in strainer to ensure no grain fragments enter the storage bottles. This maintains the viscous yet clean mouthfeel required for a professional-grade tonic.
Section B: Prep & Timing Fault-Lines:
Timing is the most volatile variable in this audit. If you leave the grains to ferment for too long, the flavor moves from piquant to putrid. If the environment is too cold, the extraction will be sluggish and lack the enzymatic density required for health benefits. Technical Fix: Use a fermentation heat mat if your kitchen stays below 18C (65F). Conversely, in high summer, reduce the fermentation time by 12 to 24 hours to prevent over-acidification.
THE VISUAL SPECTRUM
Section C: Thermal & Visual Troubleshooting:
Referencing the Masterclass photo, notice the distinct "opalescent cloudiness." This is not dirt; it is a suspension of beneficial yeast and bacteria. If your liquid is crystal clear, the fermentation has failed to launch. If you see "fuzzy" molds (black, green, or pink) on the surface, your sanitation protocol was breached. Technical Fix: Sterilize all equipment with boiling water before use. If the color is brown rather than pale gold, your grains may have oxidized due to poor drainage during the sprouting phase. Ensure the grains remain moist but never submerged in stagnant water during the sprout.
THE DEEP DIVE
Macro Nutrition Profile:
Rejuvelac is virtually calorie-free, containing negligible amounts of carbohydrates and protein. Its value lies in the micronutrient density: high levels of B-vitamins, Vitamin K, and Vitamin E. The real "macro" here is the enzyme count, specifically amylase and protease, which assist in breaking down dietary starches and proteins.
Dietary Swaps:
- Vegan: Naturally compliant.
- Keto: Highly recommended as it contains zero sugar and aids in electrolyte absorption.
- Gluten-Free: Substitute wheat or rye with quinoa, buckwheat, or millet berries. Follow the exact same sprouting protocol.
Meal Prep & Reheating Science:
Never heat Rejuvelac. Temperatures above 46C (115F) will denature the enzymes and kill the probiotic colonies, rendering the tonic a simple flavored water. For meal prep, store in airtight glass swing-top bottles for up to one week. The carbon dioxide produced will create a slight natural effervescence.
THE KITCHEN TABLE
Why does my Rejuvelac smell like yeast?
A slight yeasty aroma is normal, especially if using rye. It indicates active wild yeast. However, if the smell is overwhelmingly like bread dough or beer, you may have over-fermented it. Reduce your next fermentation cycle by 12 hours.
Can I use pre-sprouted grains?
No. The fermentation relies on the active, living transition of the grain. Pre-sprouted, dried grains are dormant and will not produce the same enzymatic surge. You must start with raw, whole berries to ensure a successful infuse of nutrients.
Is the white sediment at the bottom safe?
Absolutely. That is the "mother" or the concentrated probiotic sediment. You can swirl the bottle to render it back into the liquid or leave it at the bottom. It is a sign of a healthy, living beverage.
Can I add flavors like ginger or fruit?
Only after the primary fermentation is complete and the grains are removed. Adding sugar-rich fruit during the grain-soak can lead to alcoholic fermentation rather than the desired lactic acid fermentation. Add ginger or lemon zest during the refrigeration stage.