Listen up, kitchen architects and starch-obsessed data miners. We are moving beyond the era of mushy, uninspired grains that lack structural integrity. Today, we are auditing the molecular architecture of the Chenopodium quinoa seed. This is not just a side dish; it is a high-performance carbohydrate delivery system designed for maximum metabolic efficiency. When we talk about the Quinoa Glycemic Index, we are discussing a low-impact physiological footprint that keeps your insulin levels in a state of zen-like equilibrium. Most home cooks fail because they treat this pseudo-cereal like white rice, resulting in a sodden mess that lacks the "pop" of a perfectly hydrated germ. We are here to fix that. We are going to strip away the bitter saponins, optimize the hydration ratio, and toast the seeds until they release a nutty aroma that signals the onset of the Maillard reaction. This is technical cooking for the discerning palate. Prepare your digital scales and clear your stations. We are about to engineer the perfect grain.
THE DATA MATRIX
| Metric | Specification |
|---|---|
| Prep Time | 10 Minutes |
| Execution Time | 20 Minutes |
| Yield | 4 Standard Servings |
| Complexity | 3 / 10 |
| Estimated Cost per Serving | $1.15 USD |
THE GATHERS
Ingredient Protocol:
- 185g / 1 cup Pre-washed organic white or tri-color quinoa.
- 475ml / 2 cups High-clarity vegetable or chicken bone broth.
- 15ml / 1 tbsp Extra virgin olive oil or clarified butter.
- 5g / 1 tsp Fine sea salt.
- 1 small Shallot, finely minced to a 2mm brunoise.
- 1 clove Garlic, microplaned for maximum surface area.
- 1 sprig Fresh thyme to infuse the cooking liquid.
Section A: Ingredient Quality Audit:
If your raw materials are sub-par, your final product will suffer a total system failure. If the quinoa smells dusty or "old," the natural oils in the germ have likely oxidized. To fix this, perform an extended cold-water rinse for three minutes while agitating the seeds manually to scrub off residual saponins. If your broth lacks depth, do not use it. Instead, deglaze your pot with a splash of dry white wine before adding water to build a more complex flavor profile. If your shallots are sprouting, discard the green center to avoid a piquant bitterness that will overwhelm the delicate nuttiness of the grain.
THE MASTERCLASS
Step-by-Step Execution:
1. The Saponin Scrub
Place your quinoa in a fine-mesh sieve and rinse under cold running water. Use your fingers to vigorously agitate the grains. You are looking for the water to run perfectly clear, indicating the removal of bitter glycosides.
Pro Tip: Use a digital scale to measure your dry weight before rinsing. Wet grains expand, making volumetric measurements inaccurate. Removing saponins ensures the Quinoa Glycemic Index remains favorable by preventing digestive irritation.
2. The Maillard Activation
Heat your saucier over medium-high heat. Add the oil and the rinsed, drained quinoa. Stir constantly for 3 to 5 minutes. You are looking for a distinct toasted aroma and a slight change in color.
Pro Tip: This toasting step is crucial. It creates a hydrophobic barrier on the outside of the grain, ensuring each seed remains distinct rather than clumping into a viscous mass.
3. The Aromatics Integration
Add the minced shallots and garlic to the pot. Stir for 60 seconds until the shallots turn translucent and the garlic becomes fragrant but not browned.
Pro Tip: Use a bench scraper to transfer your finely minced aromatics from the cutting board to the pot without losing any of the essential oils or moisture.
4. Controlled Hydration
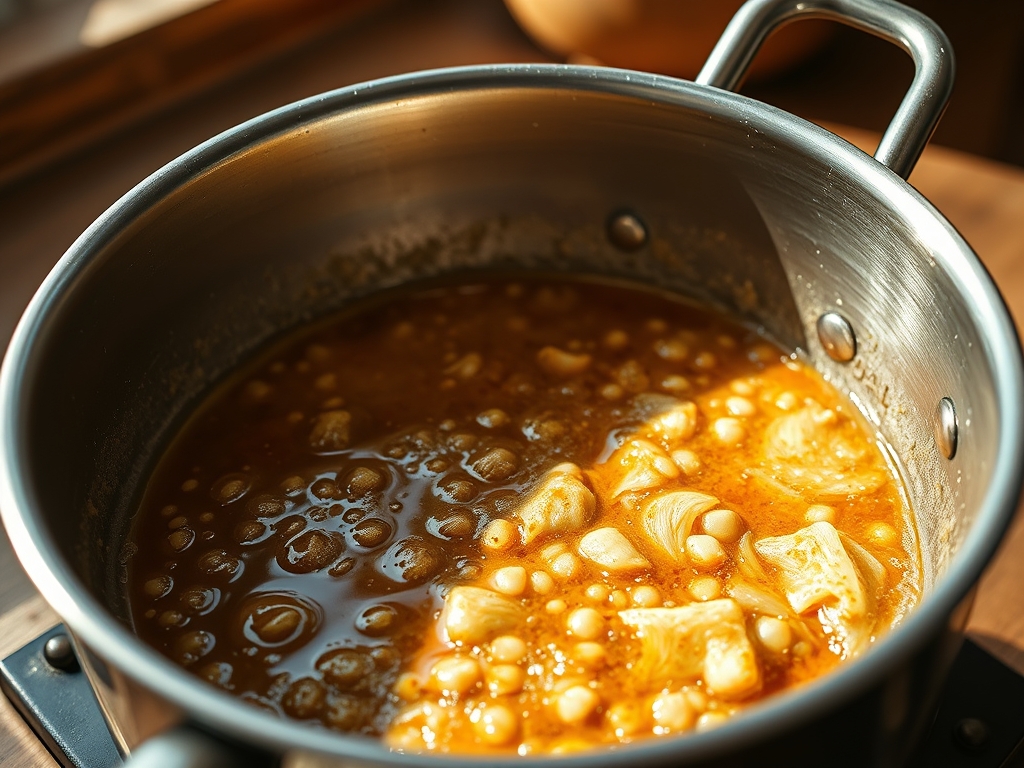
Pour in the broth and add the salt and thyme sprig. Bring the mixture to a rolling boil, then immediately reduce the heat to the lowest possible setting and cover with a tight-fitting lid.
Pro Tip: A heavy-bottomed saucier distributes heat more evenly than a thin pot, preventing the bottom layer of grains from scorching while the top layer remains undercooked.
5. The Molecular Rest
After 15 minutes, remove the pot from the heat. Do not lift the lid. Let it sit undisturbed for 5 to 10 minutes. This allows the steam to finish hydrating the core of each grain.
Pro Tip: This resting phase allows the proteins to stabilize. If you fluff the quinoa too early, you will break the delicate "tails" (the germ) and ruin the visual integrity of the dish.
6. The Final Aeration
Remove the lid and discard the thyme sprig. Use a fork or a wide spatula to gently aerate the grains, lifting them from the bottom to the top to release trapped steam.
Pro Tip: Proper aeration prevents the residual heat from overcooking the grains into a mushy texture. The goal is a light, fluffy consistency where every grain is an individual unit.
Section B: Prep & Timing Fault-Lines:
The most common failure in quinoa production is the "swamp effect," caused by excess moisture and improper heat control. If your timer goes off and there is still liquid at the bottom of the pot, do not keep boiling it. Instead, remove the lid, turn the heat to medium for 60 seconds to render the excess moisture into steam, then immediately cover and rest. If your quinoa is crunchy, your lid was not airtight. Add 30ml of hot water and rest for another 5 minutes to fix the hydration deficit.
THE VISUAL SPECTRUM
Section C: Thermal & Visual Troubleshooting:
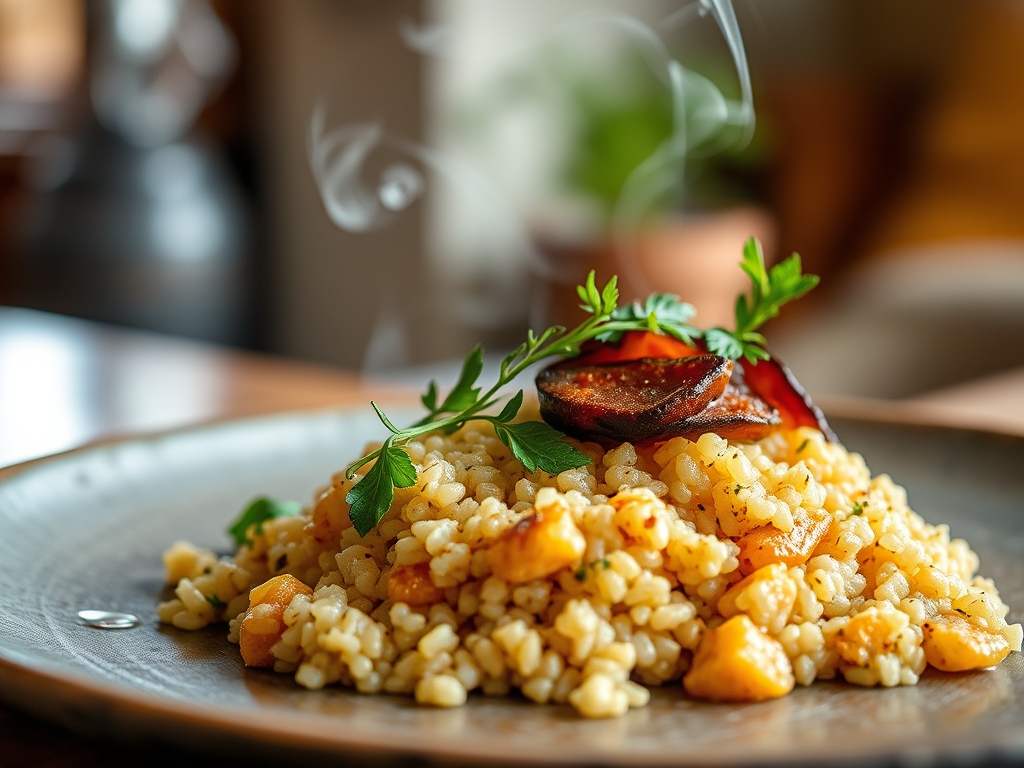
Referencing the masterclass photo, your quinoa should exhibit a clear "halo" where the germ has detached and curled around the translucent seed. If your dish looks dull or grey, you skipped the toasting phase or used a low-quality broth. For uneven browning, ensure your heat source is centered under the saucier. If the colors are not vibrant, a finishing touch of fresh lemon juice will brighten the aesthetic and provide a sharp contrast to the earthy tones of the grain. The final texture should be "al dente" with a noticeable snap when bitten.
THE DEEP DIVE
Macro Nutrition Profile
A single serving of this engineered quinoa provides approximately 220 calories, 8g of complete protein, and 5g of fiber. Because of its low Quinoa Glycemic Index (roughly 53), it provides sustained energy without the crash associated with refined starches. It is a powerhouse of magnesium, manganese, and phosphorus.
Dietary Swaps
- Vegan: Use high-quality vegetable stock or mushroom dashi for a deep umami hit.
- Keto: Quinoa is not keto-friendly in large amounts, but you can blend it 50/50 with riced cauliflower to lower the net carb count while maintaining texture.
- GF: Quinoa is naturally gluten-free, but always verify your broth source for hidden thickeners.
Meal Prep & Reheating Science
To maintain molecular structure during storage, spread the cooked quinoa on a sheet tray to cool rapidly before refrigerating. When reheating, add 15ml of water per serving and cover tightly to steam. This prevents the grains from becoming desiccated and maintains the integrity of the Quinoa Glycemic Index.
THE KITCHEN TABLE
Why is my quinoa always bitter?
Bitter quinoa is caused by saponins, a natural coating. You must rinse the grains under cold water for at least two minutes, agitating them manually, to ensure these compounds are fully removed before you begin the toasting process.
Can I use a rice cooker for this?
Yes, but you lose the ability to toast the grains and sauté aromatics effectively. For the best results, use the "white rice" setting and decrease the water ratio slightly to ensure the grains remain firm and distinct.
What is the best liquid-to-grain ratio?
The gold standard is 2 parts liquid to 1 part dry quinoa. However, if you prefer a firmer, "salad-style" texture, reduce the liquid to 1.75 parts. This ensures the Quinoa Glycemic Index benefits are matched by a superior mouthfeel.
How do I make my quinoa more flavorful?
Stop using plain water. Always use a seasoned broth, and never skip the toasting phase. Adding aromatics like shallots, garlic, or even a bay leaf during the simmering process will infuse the grains with deep, professional-grade flavor.