The scent of bruised basil and scalded spinach is the olfactory signature of a kitchen operating at peak efficiency. We are not merely cooking; we are executing a high-stakes extraction of magnesium-based pigments to achieve a flawless Chlorophyll Infusion. This is the technical audit of liquid greens, where the difference between a vibrant, electric emerald and a dull, swampy olive is exactly four degrees Celsius and thirty seconds of agitation. If your oil looks like motor fluid from a 1994 sedan, your molecular stabilization has failed. We demand a product that is viscous, translucent, and possesses a piquant clarity that cuts through the richest proteins. This process requires the precision of a laboratory and the intuition of a seasoned chef. We are harnessing the power of the chloroplast, rupturing cell walls to release the verdant essence trapped within the fibrous matrix. Prepare your stations for a deep dive into the thermal dynamics of pigment preservation. We are about to turn basic foliage into liquid gold.
THE DATA MATRIX
| Metric | Specification |
|---|---|
| Prep Time | 20 Minutes |
| Execution Time | 10 Minutes |
| Yield | 350ml / 1.5 Cups |
| Complexity (1-10) | 7 |
| Estimated Cost per Serving | $0.85 |
THE GATHERS
Ingredient Protocol:
- 400g / 14oz Fresh Spinach (Stems removed)
- 100g / 3.5oz Flat Leaf Parsley
- 500ml / 2.1 Cups Neutral Grapeseed Oil
- 10g / 2 tsp Fine Sea Salt
- 50g / 1.7oz Ice Cubes (For rapid thermal shock)
Section A: Ingredient Quality Audit:
The primary failure point in any Chlorophyll Infusion is the moisture content of the raw material. If your greens are wilted or display yellowing edges, the magnesium in the chlorophyll has already begun to degrade into pheophytin; this results in a muddy brown hue. Technical Fix: Revive slightly dehydrated greens by submerging them in an ice-water bath for fifteen minutes to restore turgor pressure. If your oil smells "nutty" before you begin, it is oxidized. Always use a neutral oil with a high smoke point to ensure the delicate herbal notes are not overshadowed by rancid fats. Ensure all greens are bone-dry after washing; water is the enemy of a stable oil infusion and will cause the final product to cloud or splatter during the heating phase.
THE MASTERCLASS
1. Thermal Rupture and Blanching
Place your greens into a large pot of boiling, highly salted water for exactly thirty seconds. You are looking for the moment the cell walls soften but before the vibrant green begins to fade. Use a stainless steel spider to move the greens immediately into an ice bath.
Pro Tip: This rapid temperature shift stops enzymatic browning. The salt in the water acts as a mordant, locking the color into the fibers. Use a digital scale to ensure your salt ratio is exactly two percent of your water weight for optimal results.
2. Dehydration and Compression
Remove the greens from the ice bath and squeeze them with maximum force. You must remove every possible molecule of water. Wrap the greens in a clean kitchen towel and twist until no more liquid escapes.
Pro Tip: Residual water creates an emulsion that will turn your oil opaque. Use a bench scraper to gather every scrap of green from your cutting board; every gram of pigment counts toward the final saturation.
3. High-Shear Blending
Place the compressed greens into a high-speed blender and add the grapeseed oil. Blend on the highest setting for approximately two minutes. The friction of the blades will cause the temperature to rise; this is intentional.
Pro Tip: You want the oil to reach approximately 65C (150F). This temperature allows the oil to infuse with the pigments without "cooking" the fresh flavor. Monitor this with an infrared thermometer to avoid overshooting the thermal limit.
4. Precision Filtration
Pour the mixture through a fine-mesh sieve lined with a coffee filter or a triple layer of cheesecloth. Allow it to drip naturally into a saucier or glass beaker. Do not force the solids through, as this will introduce particulates that ruin the clarity.
Pro Tip: Patience is the hallmark of the professional. Forced filtration introduces "fines" that settle at the bottom of your storage vessel. A clear, translucent oil reflects light better, enhancing the visual impact on the plate.
Section B: Prep & Timing Fault-Lines:
The most common human error is the "Slow Chill." If you take too long to move greens from the boiling water to the ice, the heat continues to penetrate the core, destroying the delicate chlorophyll structure. Another fault-line is the "Blender Burn." If you blend for five minutes instead of two, the friction heat will exceed 80C, resulting in a "cooked" vegetable flavor rather than a fresh, grassy profile. Use a timer for every stage. Precision is the only path to consistency.
THE VISUAL SPECTRUM
Section C: Thermal & Visual Troubleshooting:
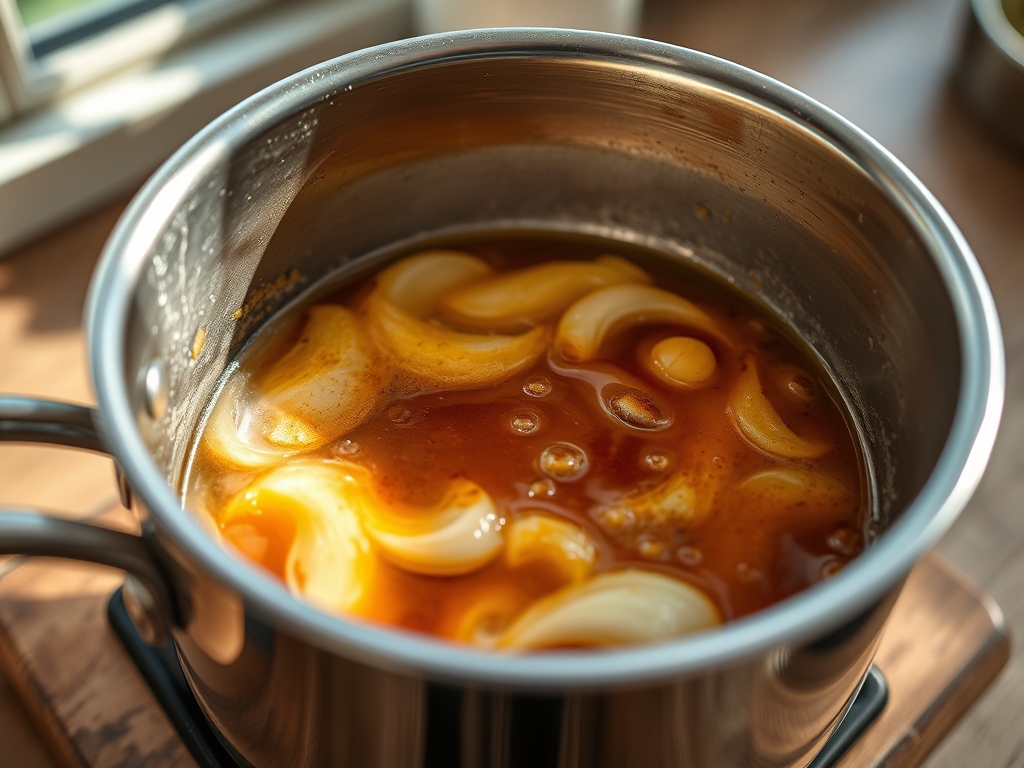
Look at the Masterclass photo above. Notice the lack of sediment and the brilliant, neon-green clarity. If your oil looks "broken" or has visible water droplets at the bottom, your dehydration step was insufficient. If the color is dark forest green rather than emerald, you likely over-blanched the greens. To fix a dull color, you can "spike" the oil by blending in a small amount of fresh, un-blanched herbs and re-straining, though this will reduce the shelf life. If the oil appears cloudy, pass it through a fresh coffee filter again; this second pass often catches the microscopic fibers that escaped the first audit.
THE DEEP DIVE
Macro Nutrition Profile:
A single 15ml serving contains approximately 120 calories, all derived from high-quality unsaturated fats. It is rich in Vitamin E and K, though the primary value is aesthetic and aromatic.
Dietary Swaps:
- Vegan/Keto: Naturally compliant.
- Nut-Free: Ensure the neutral oil is grapeseed or sunflower, avoiding any walnut or almond oil blends.
- Flavor Variation: Swap spinach for wild ramps or chives to create a more piquant profile while maintaining the same magnesium density.
Meal Prep & Reheating Science:
Chlorophyll is light-sensitive. Store your infusion in an opaque squeeze bottle or a dark glass jar in the refrigerator. It will stay vibrant for up to seven days. Do not heat the oil directly in a pan; instead, use it as a finishing oil. High heat during cooking will cause the magnesium atom to be replaced by hydrogen, turning the oil brown instantly. To serve, allow the oil to reach room temperature to restore its fluid viscous state.
THE KITCHEN TABLE
Why is my oil turning brown after two days?
Light and oxygen are the primary culprits. Store your infusion in the back of the fridge in a dark container. Exposure to UV rays triggers photo-oxidation, which kills the pigment and ruins the flavor profile.
Can I use olive oil instead of grapeseed?
You can, but the strong flavor of extra virgin olive oil often competes with the delicate greens. Furthermore, olive oil has a distinct yellow tint that can shift your emerald green toward a lime or chartreuse spectrum.
What do I do with the leftover green pulp?
Never waste processed material. That pulp is a concentrated flavor paste. Fold it into pasta dough, mix it into compound butter, or use it as a base for a verdant pesto. It is pure culinary gold.
My oil is too thick to drizzle. What happened?
If you used a saturated fat or refrigerated the oil, it may have thickened. Let it sit at room temperature for ten minutes and give it a vigorous shake to aerate and restore its intended flow rate.