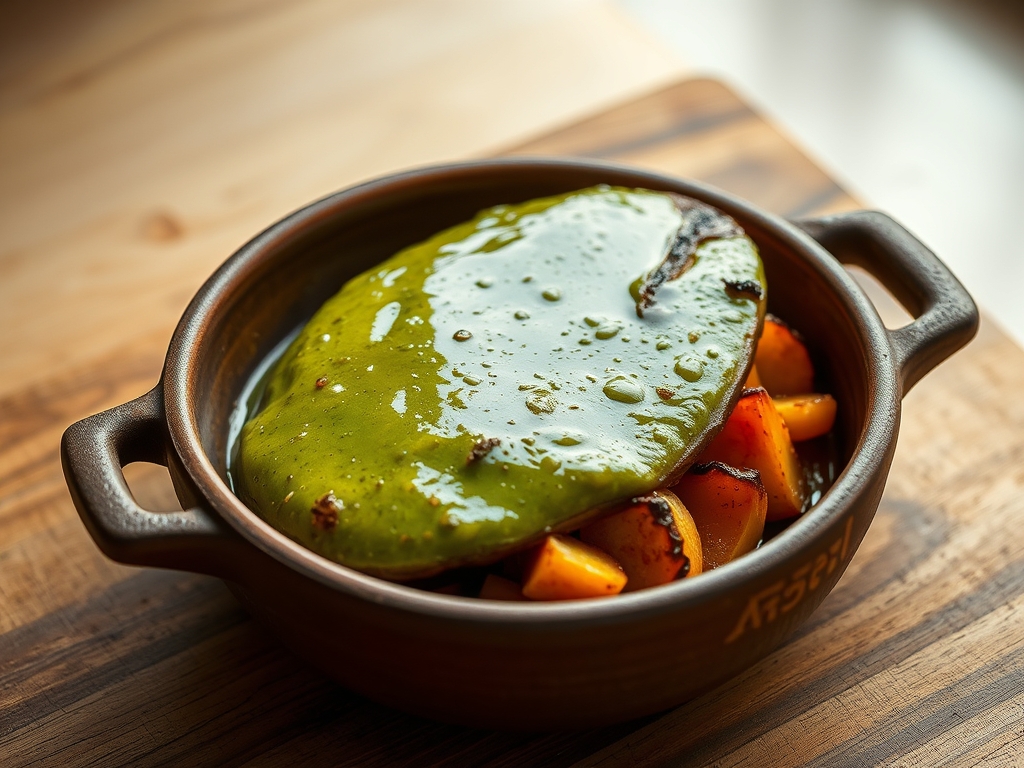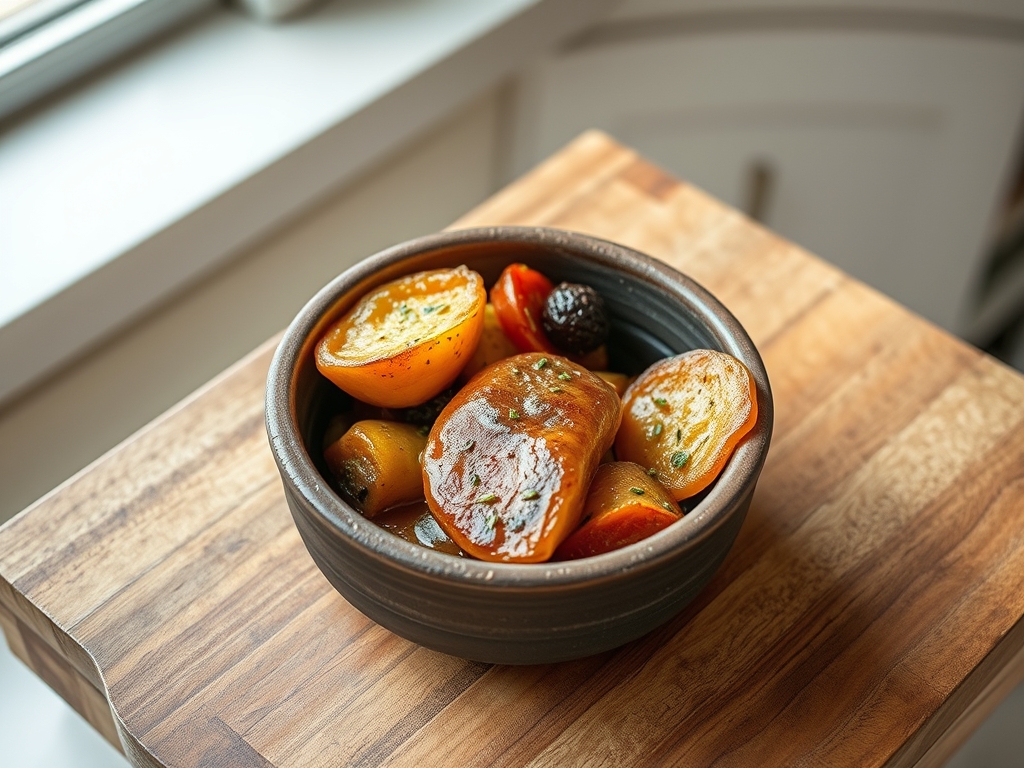
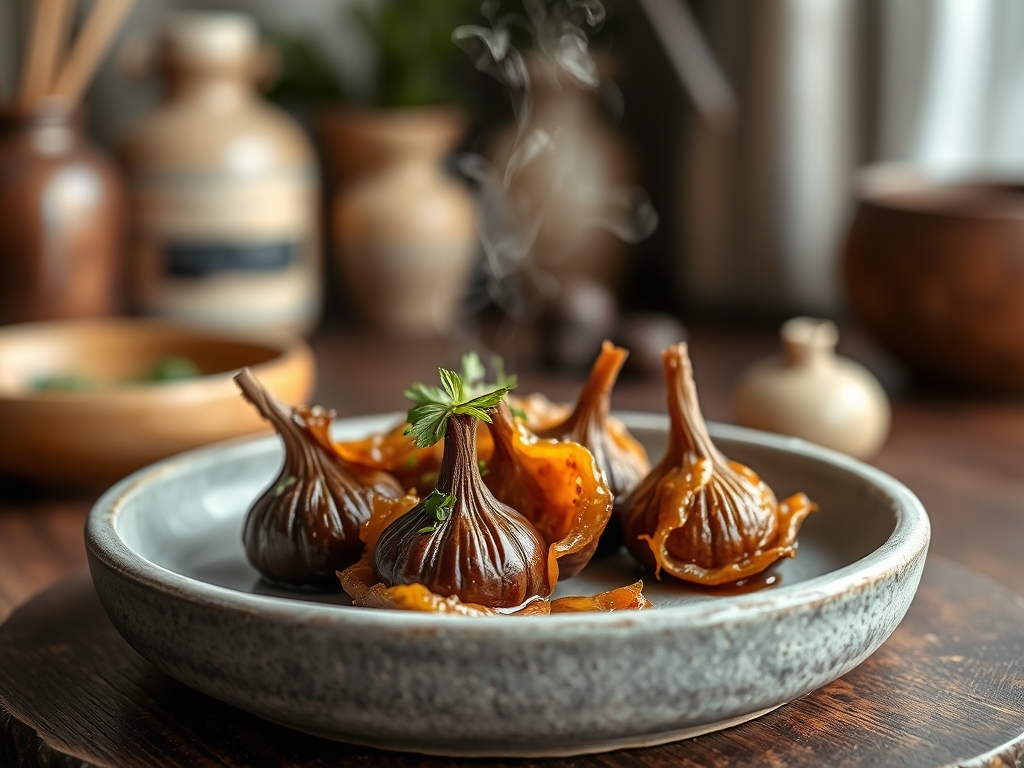
Forget everything you think you know about the pungent, sulfurous bite of a raw clove. We are entering the realm of the slow burn. Fermented Black Garlic is not merely an ingredient; it is a molecular transformation that defies the standard laws of quick-fire pan searing. Imagine the aggressive, sharp notes of Allium sativum being systematically dismantled over weeks of controlled heat and humidity. What remains is a dark, inky treasure that tastes of balsamic reduction, tamarind, and dark chocolate. This is the Maillard reaction taken to its logical, obsessive extreme. As an auditor of culinary infrastructure, I demand more than just "good flavor." I demand chemical complexity. We are targeting the peak concentration of S-Allyl Cysteine, the water-soluble powerhouse that emerges when enzymes break down gamma-glutamylcysteines. The resulting texture is jammy and viscous; the aroma is earthy and sophisticated. If your pantry lacks this obsidian gold, your flavor profile is operating on a legacy system that desperately needs an upgrade. Prepare your station. We are about to audit the very essence of umami.
THE DATA MATRIX
| Metric | Specification |
|---|---|
| Prep Time | 15 Minutes |
| Execution Time | 3 Weeks (504 Hours) |
| Yield | 10 to 12 Whole Bulbs |
| Complexity (1-10) | 3 (Process heavy, labor light) |
| Estimated Cost per Serving | $0.45 |
THE GATHERS
Ingredient Protocol:
- 12 Whole Bulbs / 680g Premium Hardneck Garlic (Ensure tight skins and no sprouts).
- 15ml / 1 tbsp High-Proof Alcohol or Vodka (For surface sterilization).
- 500g / 2 cups Coarse Sea Salt (Optional bedding for moisture regulation).
- High-Quality Plastic Wrap (Heat-resistant grade).
- Heavy-Duty Aluminum Foil.
Section A: Ingredient Quality Audit:
If your raw garlic feels hollow or shows green sprouts, abort the mission immediately. Those sprouts contain bitter compounds that will only intensify during the aging process. If the skins are papery and falling off, the bulb will dehydrate too quickly, leaving you with a carbonized rock rather than a jammy paste. To fix sub-par moisture levels in older garlic, you can lightly mist the bulbs with filtered water before sealing; however, the gold standard is always fresh, heavy bulbs with intact basal plates. Ensure you are using organic varieties if possible. Pesticide residues can interfere with the enzymatic breakdown, leading to an "off" metallic aftertaste that no amount of deglazing can rescue.
THE MASTERCLASS
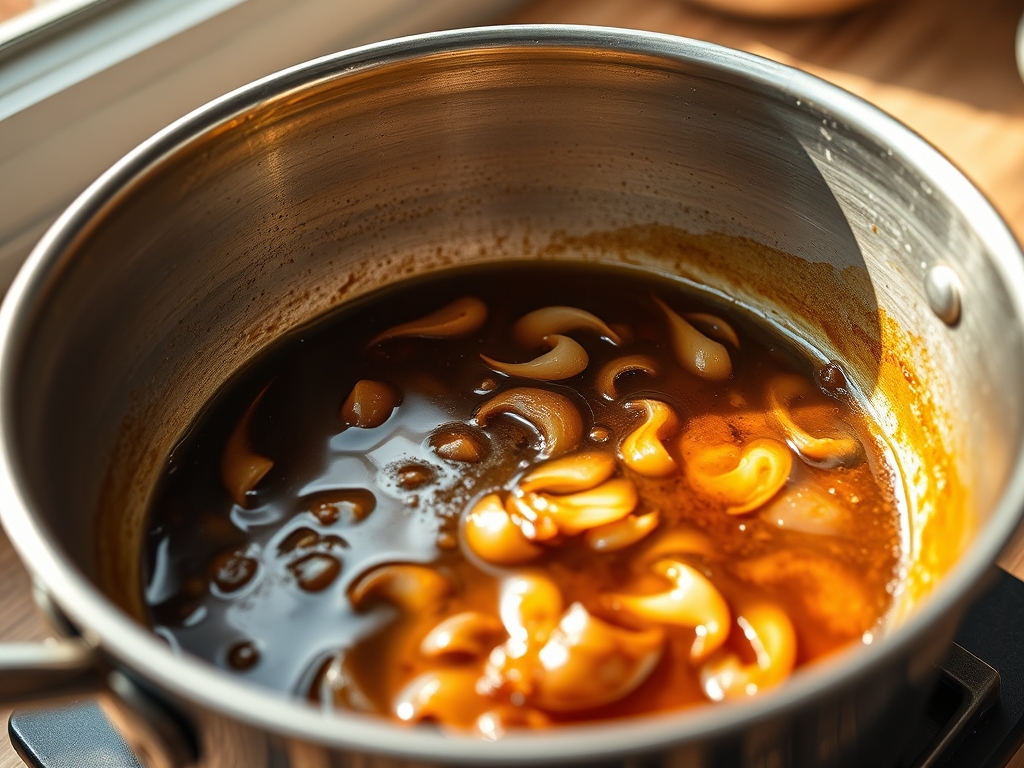
Step-by-Step Execution:
1. Sterilization and Priming
Clean your garlic bulbs by removing only the outermost, dirt-caked layers of skin. Do not expose the individual cloves. Lightly wipe the exterior with a paper towel dipped in alcohol. Use a digital scale to record the starting weight of your bulbs. This allows you to track moisture loss throughout the three-week cycle.
Pro Tip: Sterilizing the exterior prevents the growth of unwanted surface molds during the initial low-heat phase. Professional kitchens use this "clean start" method to ensure the enzymatic browning remains pure and untainted by competing microbial life.
2. The Hermetic Seal
Wrap each individual bulb tightly in two layers of heat-resistant plastic wrap, followed by a double layer of heavy-duty aluminum foil. Use a bench scraper to press the foil tightly against the bulb, ensuring no air pockets remain.
Pro Tip: The goal here is to trap the garlic's internal moisture. Without a perfect seal, the bulbs will dry out and turn into bitter charcoal. The foil acts as a thermal regulator, distributing heat evenly across the cloves to prevent localized hot spots.
3. Thermal Incubation
Place the wrapped bulbs into a dedicated fermentation chamber or a high-quality rice cooker set to the "Keep Warm" function. The temperature must remain constant between 140 F and 170 F (60 C to 77 C). Place a digital probe thermometer inside the chamber to audit the temperature daily.
Pro Tip: This is not true fermentation but a prolonged Maillard reaction. By maintaining this specific thermal window, you catalyze the breakdown of sugars and amino acids without reaching the temperatures that cause charring.
4. The Patience Phase
Leave the bulbs undisturbed for 21 days. Resist the urge to unwrap them. Every time you break the seal, you lose the humidity required to keep the texture viscous and spreadable. After 21 days, remove one bulb to check for a deep black color and a soft, balsamic-like consistency.
Pro Tip: If the garlic is still brown or tan, it requires more time. The "Keep Warm" setting on cheaper appliances can fluctuate; a professional saucier would tell you that consistency is the soul of chemistry.
5. Curing and Stabilization
Once the bulbs are black and soft, unwrap them and let them air-dry on a wire rack for 24 to 48 hours. This stabilizes the pH and allows the flavors to "set," making the cloves easier to peel and handle.
Pro Tip: This curing step allows the exterior skins to tighten slightly while the interior remains a concentrated paste. It transforms the garlic from a messy experiment into a shelf-stable culinary component.
Section B: Prep & Timing Fault-Lines:
The most common failure in this protocol is the "Thermal Spike." If your heating element fluctuates above 180 F, the sugars will caramelize too quickly and eventually burn, resulting in a bitter, acrid product. Conversely, if the temperature drops below 140 F, you risk the growth of botulinum spores in the anaerobic environment of the foil. Always use a secondary thermometer to verify your equipment. If the garlic comes out hard and brittle, your seal was compromised; next time, use more foil and ensure the "Keep Warm" cycle doesn't have an auto-shutoff feature that triggers every 12 hours.
THE VISUAL SPECTRUM
Section C: Thermal & Visual Troubleshooting:
Referencing the Masterclass photo, your Fermented Black Garlic should exhibit a matte, obsidian sheen. If you see patches of light brown, the enzymatic reaction is incomplete; return the bulbs to the heat for another 5 days. If the cloves appear shriveled and dry, like a raisin, the humidity was too low. You can salvage dry cloves by grinding them into a potent powder. If the cloves are weeping liquid, the heat was likely too high, causing the cell walls to collapse prematurely and render out the internal juices. The ideal texture is a soft, "spreadable" clove that holds its shape until pressed with a knife.
THE DEEP DIVE
Macro Nutrition Profile
Fermented Black Garlic is a concentrated source of antioxidants. Per 15g serving: 40 Calories, 0g Fat, 8g Carbohydrates, 2g Protein. The real value lies in the 10x increase in S-Allyl Cysteine compared to raw garlic, which supports cardiovascular health and systemic inflammation reduction.
Dietary Swaps
- Vegan: Naturally compliant. Use the paste to add "meatiness" to mushroom broths.
- Keto: High in flavor, low in net carbs. Perfect for enriching high-fat sauces.
- GF: Naturally gluten-free. Use as a thickener for gravies instead of flour.
Meal Prep & Reheating Science
Store peeled cloves in a glass jar submerged in olive oil. This prevents oxidation and creates a bonus "black garlic oil" for finishing dishes. When reheating, do not subject the garlic to high direct heat for long periods, as this will destroy the delicate aromatic compounds. Instead, whisk the paste into sauces at the very end of the cooking process to maintain its molecular integrity.
THE KITCHEN TABLE
How long does it stay fresh?
In an airtight container, whole bulbs last 6 months in the fridge. Peeled cloves in oil last 3 months. The high antioxidant content acts as a natural preservative, preventing rapid spoilage.
Can I use a slow cooker instead?
Yes, but only if the "Low" setting stays below 170 F. Most modern slow cookers run too hot. Always test your equipment with a water bath and a thermometer for 24 hours before committing your garlic.
Why does my garlic smell like ammonia?
This usually indicates that the garlic was too wet or the temperature was too low, allowing certain bacteria to proliferate. If it smells like cleaning fluid rather than sweet balsamic, discard it immediately and sanitize your equipment.
What is the best way to use the paste?
Smear it on sourdough toast with goat cheese, or whisk it into a red wine reduction. It acts as a bridge between acidic and savory elements, providing a deep, resonant base note to any complex sauce.