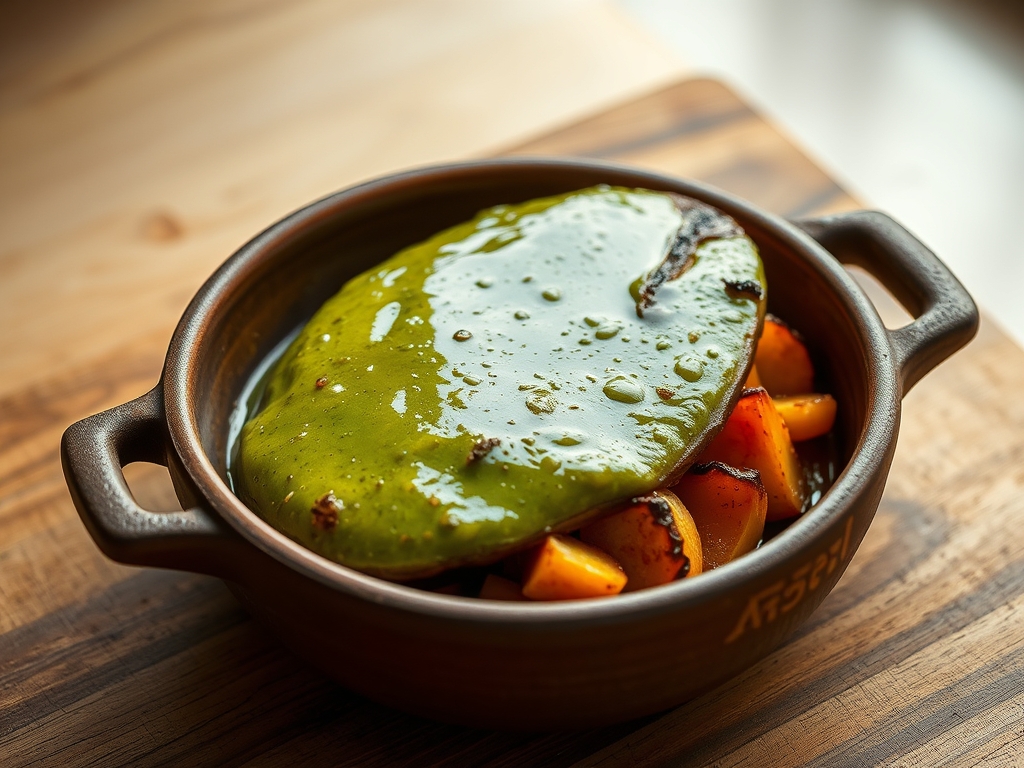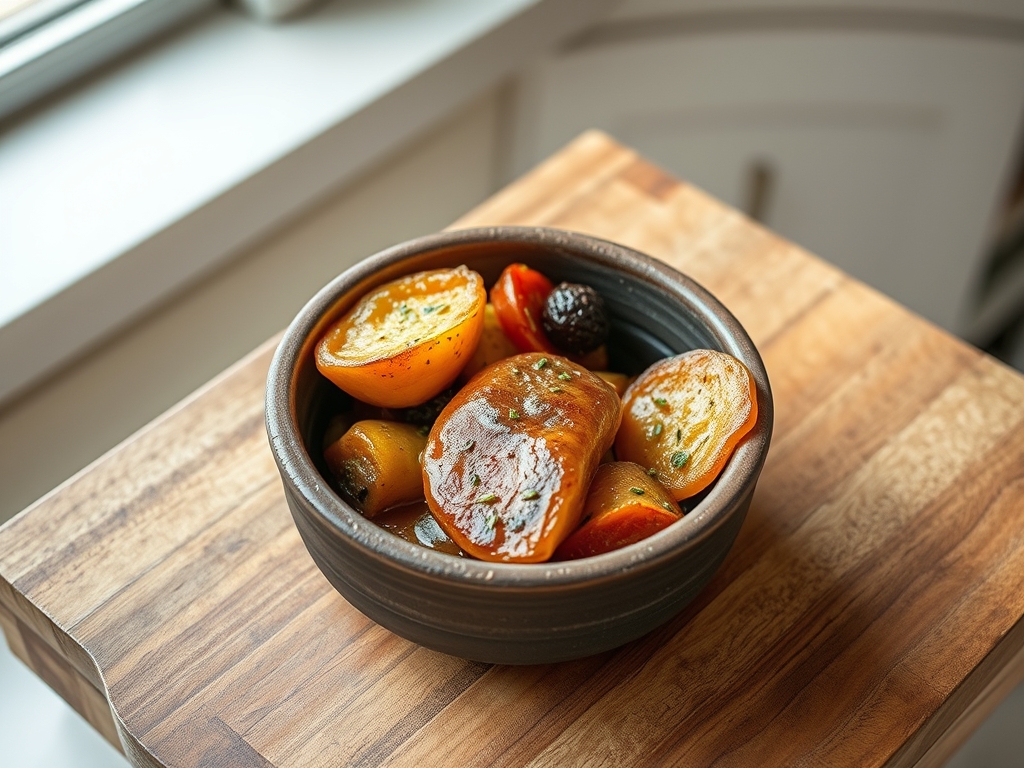
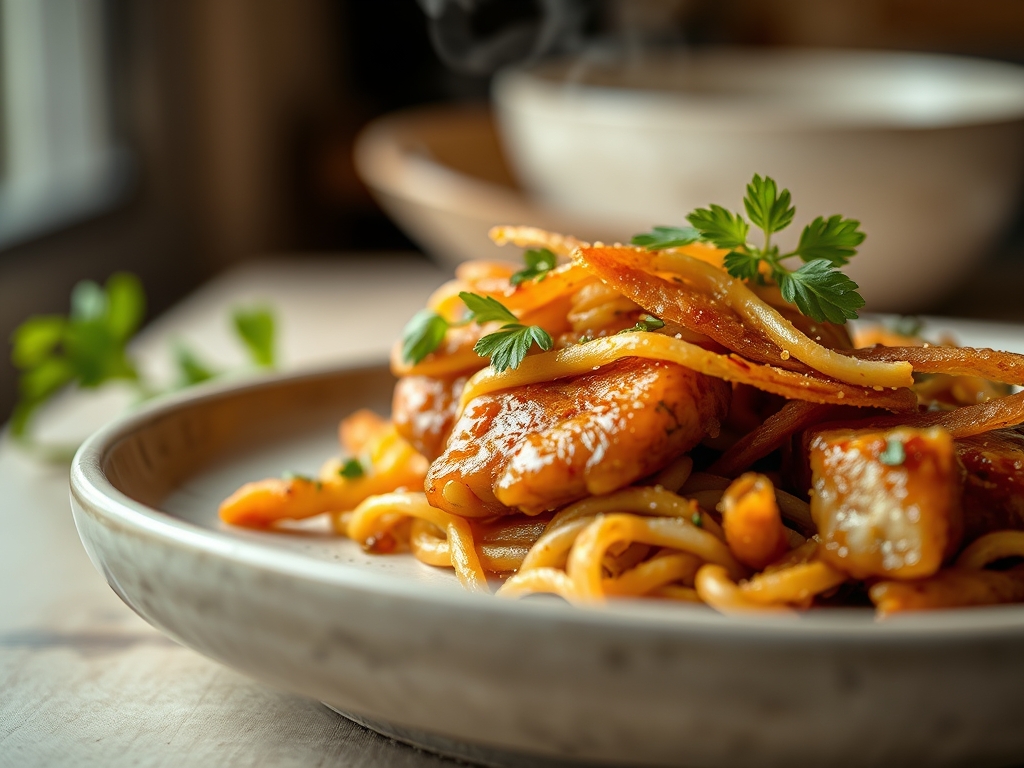
Forget everything you know about the rubbery, flavorless blocks of wheat dough found in the back of discount health food stores. We are entering the realm of high-performance culinary engineering where the Seitan Gluten Matrix is the undisputed protagonist. Imagine a texture so dense, so fibrous, and so structurally sound that it mimics the muscle fibers of a prime cut of beef. This is not just cooking; it is a structural audit of protein density. When you hydrate vital wheat gluten, you are initiating a complex molecular handshake between gliadin and glutenin. The result is a viscous, elastic network capable of trapping flavor compounds and resisting the bite with a satisfying, meaty snap. We are looking for a specific tension, a tactile resistance that signals a perfectly developed lattice. If your current plant-based protein feels like a wet sponge, your infrastructure has failed. It is time to tear down the old methods and rebuild your technique from the cellular level up. Prepare for a total recalibration of your palate as we optimize this mechanical marvel for maximum gastronomic impact.
THE DATA MATRIX
| Metric | Specification |
|---|---|
| Prep Time | 20 Minutes |
| Execution Time | 90 Minutes |
| Yield | 4-6 Servings |
| Complexity (1-10) | 7 |
| Estimated Cost per Serving | $1.45 |
THE GATHERS
Ingredient Protocol:
- 280g / 2 cups Vital Wheat Gluten (75% protein minimum)
- 30g / 0.25 cup Nutritional Yeast (for savory depth)
- 15g / 1 tbsp Smoked Paprika (for color and piquant notes)
- 5g / 1 tsp Garlic Powder
- 5g / 1 tsp Onion Powder
- 350ml / 1.5 cups Vegetable Broth (chilled)
- 30ml / 2 tbsp Soy Sauce or Tamari
- 15ml / 1 tbsp Liquid Smoke
- 2 Liters / 8.5 cups Fortified Braising Liquid (Broth, Aromatics, Soy)
Section A: Ingredient Quality Audit:
The most common failure point in the Seitan Gluten Matrix is the age and storage of the vital wheat gluten. If the powder is clumped or smells slightly musty, the protein strands have already begun to degrade. This results in a "brainy" or bready texture rather than a tight muscle fiber. Always store your gluten in an airtight container in a cool, dark place. Another technical fault involves the hydration liquid temperature. Using hot broth will prematurely "set" the proteins before they can properly align. Always use chilled or room temperature liquids to ensure you can manipulate the dough into a cohesive, elastic mass before the thermal transition begins. If your dough feels too loose, increase the gluten ratio by 5% increments using a digital scale.
THE MASTERCLASS
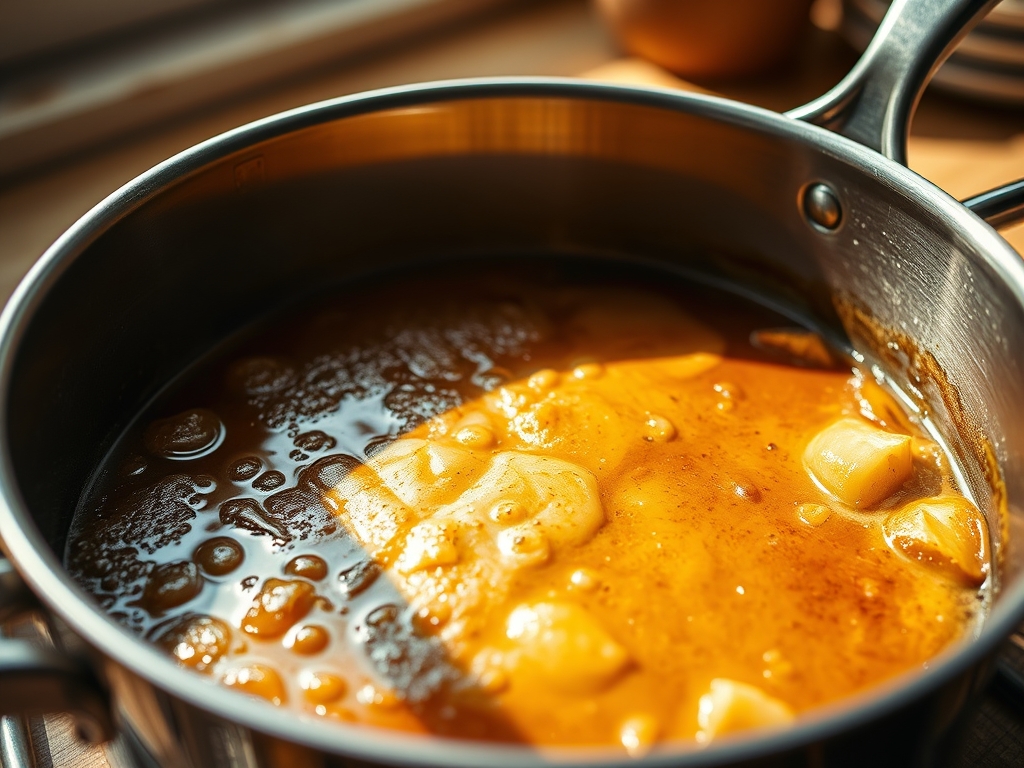
Step 1: The Dry Component Integration
Begin by sifting your vital wheat gluten, nutritional yeast, and spices into a large stainless steel mixing bowl. Use a balloon whisk to aerate the mixture, ensuring even distribution of the particulate matter. This prevents "hot spots" of seasoning and ensures the protein density is uniform across the entire batch.
Pro Tip: Use a high-precision digital scale rather than volume measurements. The density of wheat gluten can vary wildly based on how it was packed; weight is the only metric that ensures a consistent Seitan Gluten Matrix.
Step 2: Hydration and Initial Bonding
Create a well in the center of your dry ingredients. Pour in the chilled broth, soy sauce, and liquid smoke. Use a sturdy silicone spatula to fold the liquid into the dry mass until a shaggy dough forms. At this stage, the gliadin is providing extensibility while the glutenin is building the strength.
Pro Tip: Avoid over-mixing in the bowl. Once the liquid is absorbed, transfer the mass to a clean work surface. A bench scraper is the professional tool of choice here to keep your station clean and manage the tacky dough.
Step 3: Mechanical Tensioning (Kneading)
Knead the dough vigorously for 8 to 10 minutes. You are looking for the development of visible "veins" or strands within the dough. This mechanical energy aligns the protein chains into a sophisticated Seitan Gluten Matrix. The dough should become difficult to pull apart and should snap back when stretched.
Pro Tip: If the dough becomes too resistant to work, cover it with a damp cloth and let it rest for 5 minutes. This allows the disulfide bonds to relax slightly before you apply further mechanical stress.
Step 4: The Thermal Set (Simmering)
Divide the dough into four equal medallions. Submerge them in a wide saucier filled with your fortified braising liquid. Bring the liquid to a bare simmer (approximately 180 degrees Fahrenheit). Do not allow the liquid to reach a rolling boil, as the internal steam will create large pores, ruining the dense structural integrity.
Pro Tip: Use a probe thermometer to monitor the liquid. Maintaining a sub-boiling temperature is the difference between a meaty texture and a porous, spongy failure.
Step 5: The Maillard Finish
Once simmered for 60 minutes, remove the seitan and pat it dry. Heat a cast iron skillet with a high-smoke-point oil. Sear the exterior of the seitan until a deep, mahogany crust forms. This step uses the Maillard reaction to infuse the protein with complex, savory aromas.
Pro Tip: Deglaze the pan with a splash of the braising liquid at the very end to create a glossy, concentrated glaze that clings to the Seitan Gluten Matrix.
Section B: Prep & Timing Fault-Lines:
Timing is the silent killer of quality seitan. If you under-knead, the protein matrix will lack the necessary tension to hold its shape during the simmer, resulting in a soft, mushy interior. Conversely, if you simmer the dough for too short a duration, the center will remain "doughy" and raw. The most critical timing error occurs during the cooling phase. You must allow the seitan to cool completely in its braising liquid. This allows the protein strands to contract and lock in the moisture. Skipping this step results in a dry, stringy product that loses its structural integrity when sliced.
THE VISUAL SPECTRUM
Section C: Thermal & Visual Troubleshooting:
Referencing the Masterclass photo, observe the tight, fibrous striations on the cut surface. This is the visual hallmark of a successful Seitan Gluten Matrix. If your seitan appears "holey" like Swiss cheese, your simmer temperature was too high, causing the internal gases to expand too rapidly. If the exterior is pale and lacks the rich brown hue shown in the image, you have failed to properly deglaze and sear the protein. A dull, grey color usually indicates a lack of soy sauce or amino acids in the dough itself. To fix a "rubbery" look, ensure you are slicing against the grain of the developed fibers, which exposes the internal architecture and allows sauces to infuse the protein more effectively.
THE DEEP DIVE
The macro nutrition profile of this audit is staggering. A single serving provides approximately 45g of protein with less than 5g of fat and 10g of carbohydrates. This makes it a premier choice for those prioritizing protein density. From a dietary perspective, this is a vegan powerhouse, though it is obviously not suitable for those with celiac disease or gluten sensitivities. For a keto-friendly variation, reduce the nutritional yeast and ensure the braising liquid is free of added sugars.
When it comes to meal prep, the Seitan Gluten Matrix is incredibly resilient. You can store the cooked seitan in its braising liquid for up to 7 days in the refrigerator. The molecular structure actually improves after 24 hours of cold storage, as the proteins fully "set." To reheat, avoid the microwave, which can cause the protein to become excessively tough. Instead, slice the seitan and sear it in a pan with a small amount of fat to render the edges crispy while maintaining a succulent interior.
THE KITCHEN TABLE
Why is my seitan spongy?
Sponginess is caused by boiling the dough. High heat creates steam pockets that expand the protein lattice. Maintain a gentle simmer at 180 degrees Fahrenheit to ensure a dense, meat-like structure throughout the entire piece.
Can I use bread flour instead?
No. Bread flour contains too much starch. Vital wheat gluten is a concentrated protein powder with the starch removed. Using flour will result in a soft, bread-like loaf rather than the high-density matrix required for this application.
How do I get more flavor inside?
The matrix is most receptive to flavor during the hydration and simmering phases. Use a highly concentrated broth for the dough and a heavily seasoned braising liquid to infuse the protein strands from the inside out.
Why does it taste like flour?
An "earthy" or floury taste indicates undercooking or under-seasoning. Ensure you simmer for the full 60 minutes and use plenty of umami-rich ingredients like soy sauce, nutritional yeast, and garlic powder to mask the raw wheat notes.