Stop treating your kitchen like a hobbyist's playground and start viewing it as a high-stakes bioreactor. We are not just making a drink; we are conducting a full-scale Kefir Probiotic Audit to verify the structural integrity of a living, breathing microbial colony. When you peel back the lid of a successful ferment, you should be greeted by a scent that is sharp, piquant, and undeniably alive. It is a sensory assault of lactic acid and yeast esters that signals a perfect symbiotic balance. This is the gold standard of domestic biotechnology. If your current batch smells like a damp basement or looks like watery disappointment, your infrastructure has failed. We are here to recalibrate your process from the molecular level up. We will examine the viscosity, the curd tension, and the effervescent bite that separates amateur sludge from professional-grade probiotic nectar. Prepare to audit your bacteria, optimize your thermal zones, and transform raw bovine secretions into a complex, carbonated masterpiece of cellular engineering. Let us begin the deployment.
THE DATA MATRIX
| Metric | Specification |
|---|---|
| Prep Time | 10 Minutes |
| Execution Time | 24 to 48 Hours |
| Yield | 1 Liter / 4 Cups |
| Complexity (1-10) | 3 |
| Estimated Cost per Serving | $0.45 |
THE GATHERS
Ingredient Protocol:
- 1 Liter / 4.2 Cups Whole Bovine Milk (Preferably non-homogenized).
- 30g / 2 Tablespoons Active Kefir Grains (The biological engine).
- 5ml / 1 Teaspoon Organic Honey (Optional for secondary fermentation).
- 1 Pinch / 0.5g Sea Salt (To stabilize mineral density).
Section A: Ingredient Quality Audit:
The primary failure point in any Kefir Probiotic Audit is the milk quality. Ultra-Pasteurized (UHT) milk is effectively dead; the high-heat treatment denatures the proteins to a point where the grains cannot properly infuse their microbial signature. If your ferment is thin and lacks body, switch to "low and slow" pasteurized milk. If you find the flavor too metallic, audit your water source used for cleaning tools. Chlorine residue on a jar can decimate a colony in hours. Neutralize your equipment with a distilled water rinse to ensure the grains have a pristine environment to aerate and multiply.
THE MASTERCLASS
Step-by-Step Execution:
1. Inoculation and Weighing
Place your clean glass fermentation vessel on a digital scale and tare it. Introduce 30g of active grains. Pour in 1 liter of milk, ensuring the ratio of grains to liquid remains approximately 1:30 for optimal nutrient density.
Pro Tip: Precision matters because the microbes require a specific "food to consumer" ratio. If the milk volume is too high, the grains will starve before they can acidify the batch, allowing pathogens to take root.
2. The Atmospheric Seal
Cover the vessel with a breathable cloth or a coffee filter secured with a heavy-duty rubber band. This allows carbon dioxide to escape while preventing fruit flies from compromising the batch. Place the vessel in a dark environment between 20C and 24C.
Pro Tip: Use a digital thermometer to audit the ambient temperature of your pantry. Fermentation is a kinetic process; every 5-degree increase in temperature can double the speed of microbial metabolism.
3. Monitoring the Separation
Observe the vessel for the "pocketing" phase. You will see small pockets of clear whey forming near the bottom or middle of the jar. This indicates that the pH has dropped sufficiently to coagulate the casein proteins.
Pro Tip: Do not wait for total separation. If the whey and curd completely disconnect, the acidity will become too aggressive, potentially damaging the delicate yeast strains within the grains.
4. Extraction and Recovery
Place a non-reactive nylon mesh strainer over a stainless steel saucier or glass bowl. Pour the contents through. Use a silicone spatula or a bench scraper to gently move the grains around, allowing the viscous kefir to pass through while keeping the grains intact.
Pro Tip: Never use reactive metals like aluminum or copper. The high acidity of the kefir will leach metallic ions into the liquid, poisoning your colony and ruining the flavor profile.
5. The Secondary Polish
Transfer the strained liquid to a swing-top bottle. If desired, add a small amount of fruit peel or honey to provide fresh sugars for the yeast. Seal tightly and leave at room temperature for another 4 to 6 hours to build natural carbonation.
Pro Tip: This stage is where you achieve that signature "fizz." The yeast will render the remaining sugars into CO2, creating a champagne-like mouthfeel that is the hallmark of a successful audit.
Section B: Prep & Timing Fault-Lines:
Human error is the most common variable in fermentation. If you forget your batch for 72 hours, the grains will begin to digest their own protective polysaccharide coating. This results in "slimy" grains that produce a bitter product. To fix this, perform a "Grain Reset" by rinsing them in fresh, cold spring water and placing them in a small amount of milk for 12 hours, then discarding that milk before starting a fresh cycle.
THE VISUAL SPECTRUM
Section C: Thermal & Visual Troubleshooting:
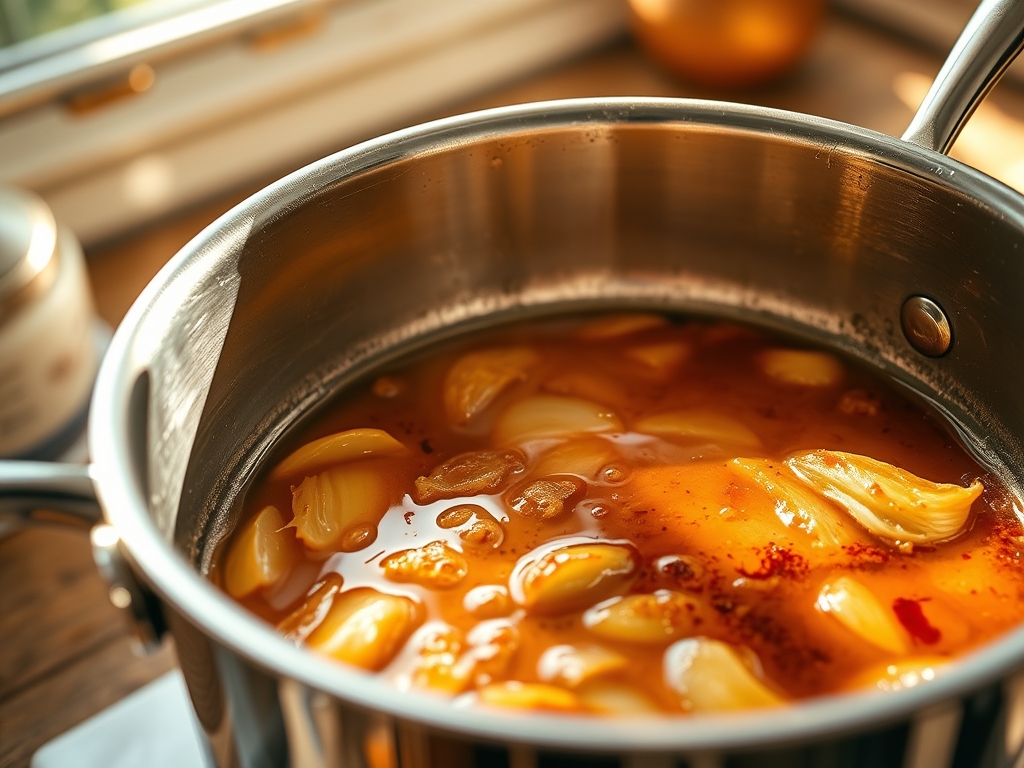
Referencing the Masterclass photo, your final product should exhibit a creamy, off-white hue with a texture similar to heavy cream. If you see a dull, yellowish tint, your fat content is oxidizing, likely due to light exposure. Move your station to a darker cupboard. If the texture is grainy rather than smooth, you have over-fermented. The visual cue for a perfect harvest is the "whey-crack," where thin veins of translucent liquid appear through the white curd. If the liquid looks completely separated into "cheese and water," you have waited too long. Reduce your next fermentation cycle by 4 hours to maintain a viscous and silky consistency.
THE DEEP DIVE
Macro Nutrition Profile:
A standard 250ml serving contains approximately 150 calories, 8g of protein, 11g of carbohydrates, and 8g of fat. It is a powerhouse of Vitamin B12, Calcium, and Magnesium.
Dietary Swaps:
- Vegan: Use coconut milk with a high fat content, but note that grains require a "dairy bath" every third batch to survive, as they feed on lactose.
- Keto: Use heavy cream mixed with water (1:1 ratio) to lower the sugar-to-fat ratio.
- GF: Naturally gluten-free; ensure no cross-contamination in your grain source.
Meal Prep & Reheating Science:
Kefir is a living product; heating it above 40C (104F) will terminate the probiotic benefit. If incorporating into sauces, whisk it in at the very end of the cooking process, after the heat is turned off. For storage, keep in the coldest part of the refrigerator to slow microbial activity. It will remain stable for up to 3 weeks, though the flavor will continue to sharpen.
THE KITCHEN TABLE
How do I know if my grains are dead?
If after 48 hours the milk remains liquid and smells only of raw milk rather than a piquant tang, the grains are inactive. Dead grains often turn dark brown or feel mushy rather than firm and rubbery.
Can I use dried grains for this audit?
Yes, but they require a 5 to 7 day rehydration protocol. During this time, the milk must be changed every 24 hours regardless of fermentation progress to properly wake the microbes from their dormant state.
Why is my kefir so thin?
Low ambient temperatures are usually the culprit. If your kitchen is below 18C, the bacteria move too slowly to thicken the milk. Use a seedling heat mat or the top of a refrigerator to provide consistent warmth.
Is the "fizz" mandatory?
No, the effervescence is a byproduct of yeast activity. If you prefer a still drink, skip the secondary fermentation in a sealed bottle and move the strained kefir directly into the refrigerator in a vented container.